| Wiki Sections |
|---|
| AWS FreePBX |
| FreePBX General |
 TheWebMachine Networks Support Wiki
The Home of AWS FreePBX® - A division of Rebar IT Outsourcing
User Tools
Site Tools
Sidebar
aws_freepbx:first_launch
Table of Contents
First Launch and Setup Guide
EC2 INSTANCE RECOMMENDATIONS
Every company is unique in many ways, and their communication needs are no different! Years ago, it was easy to recommend hardware specs for Asterisk-based PBX systems. However, these days, VoIP has evolved into a total communication platform. While we will provide some general guidelines for EC2 hardware, it will be important to regularly check your server resources to ensure you on a properly sized-instance. This is especially true when first placing your new AWS FreePBX instance into production and any time your company experiences growth or drastic changes in the way you do business. One of the best features of AWS is the ability to change EC2 Instance Types and Sizes at any time, so you can rest assured that a proper balance between performance and cost can be achieved regardless of your company's size, now and in the future!
CONTRACT MANAGEMENT
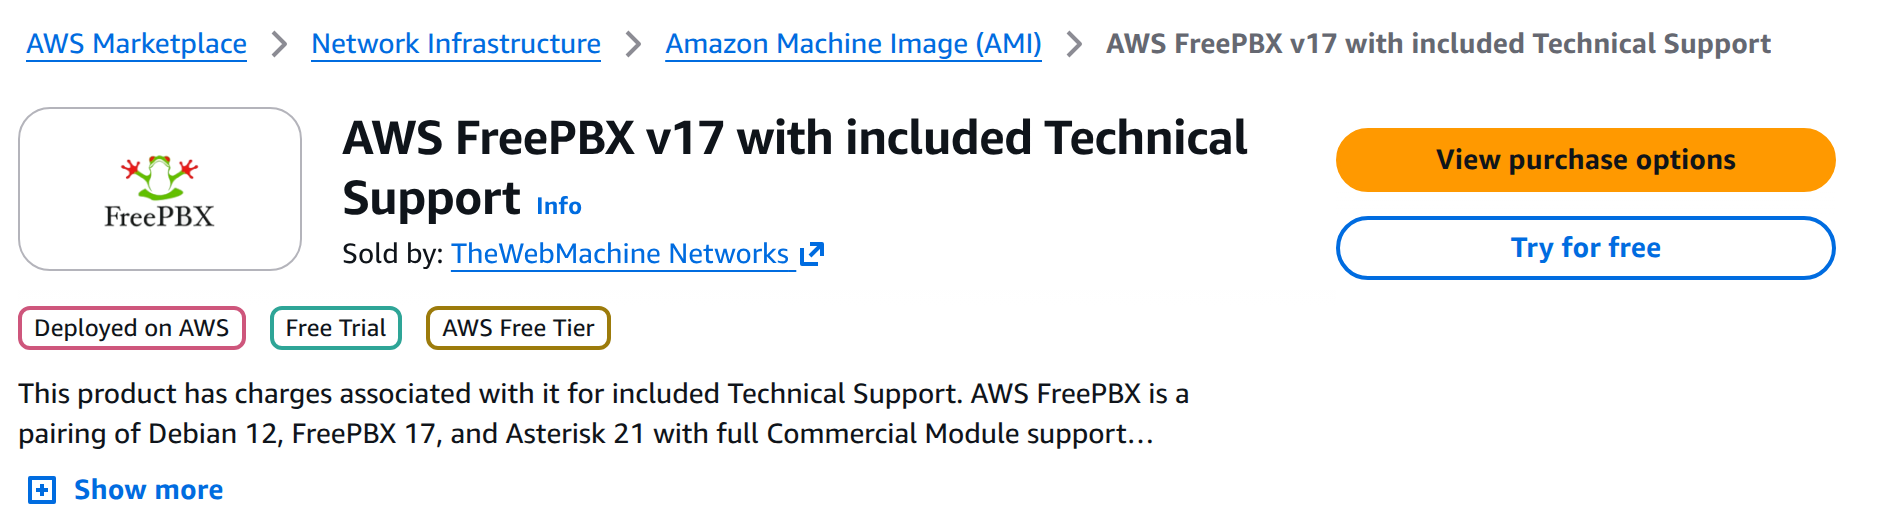
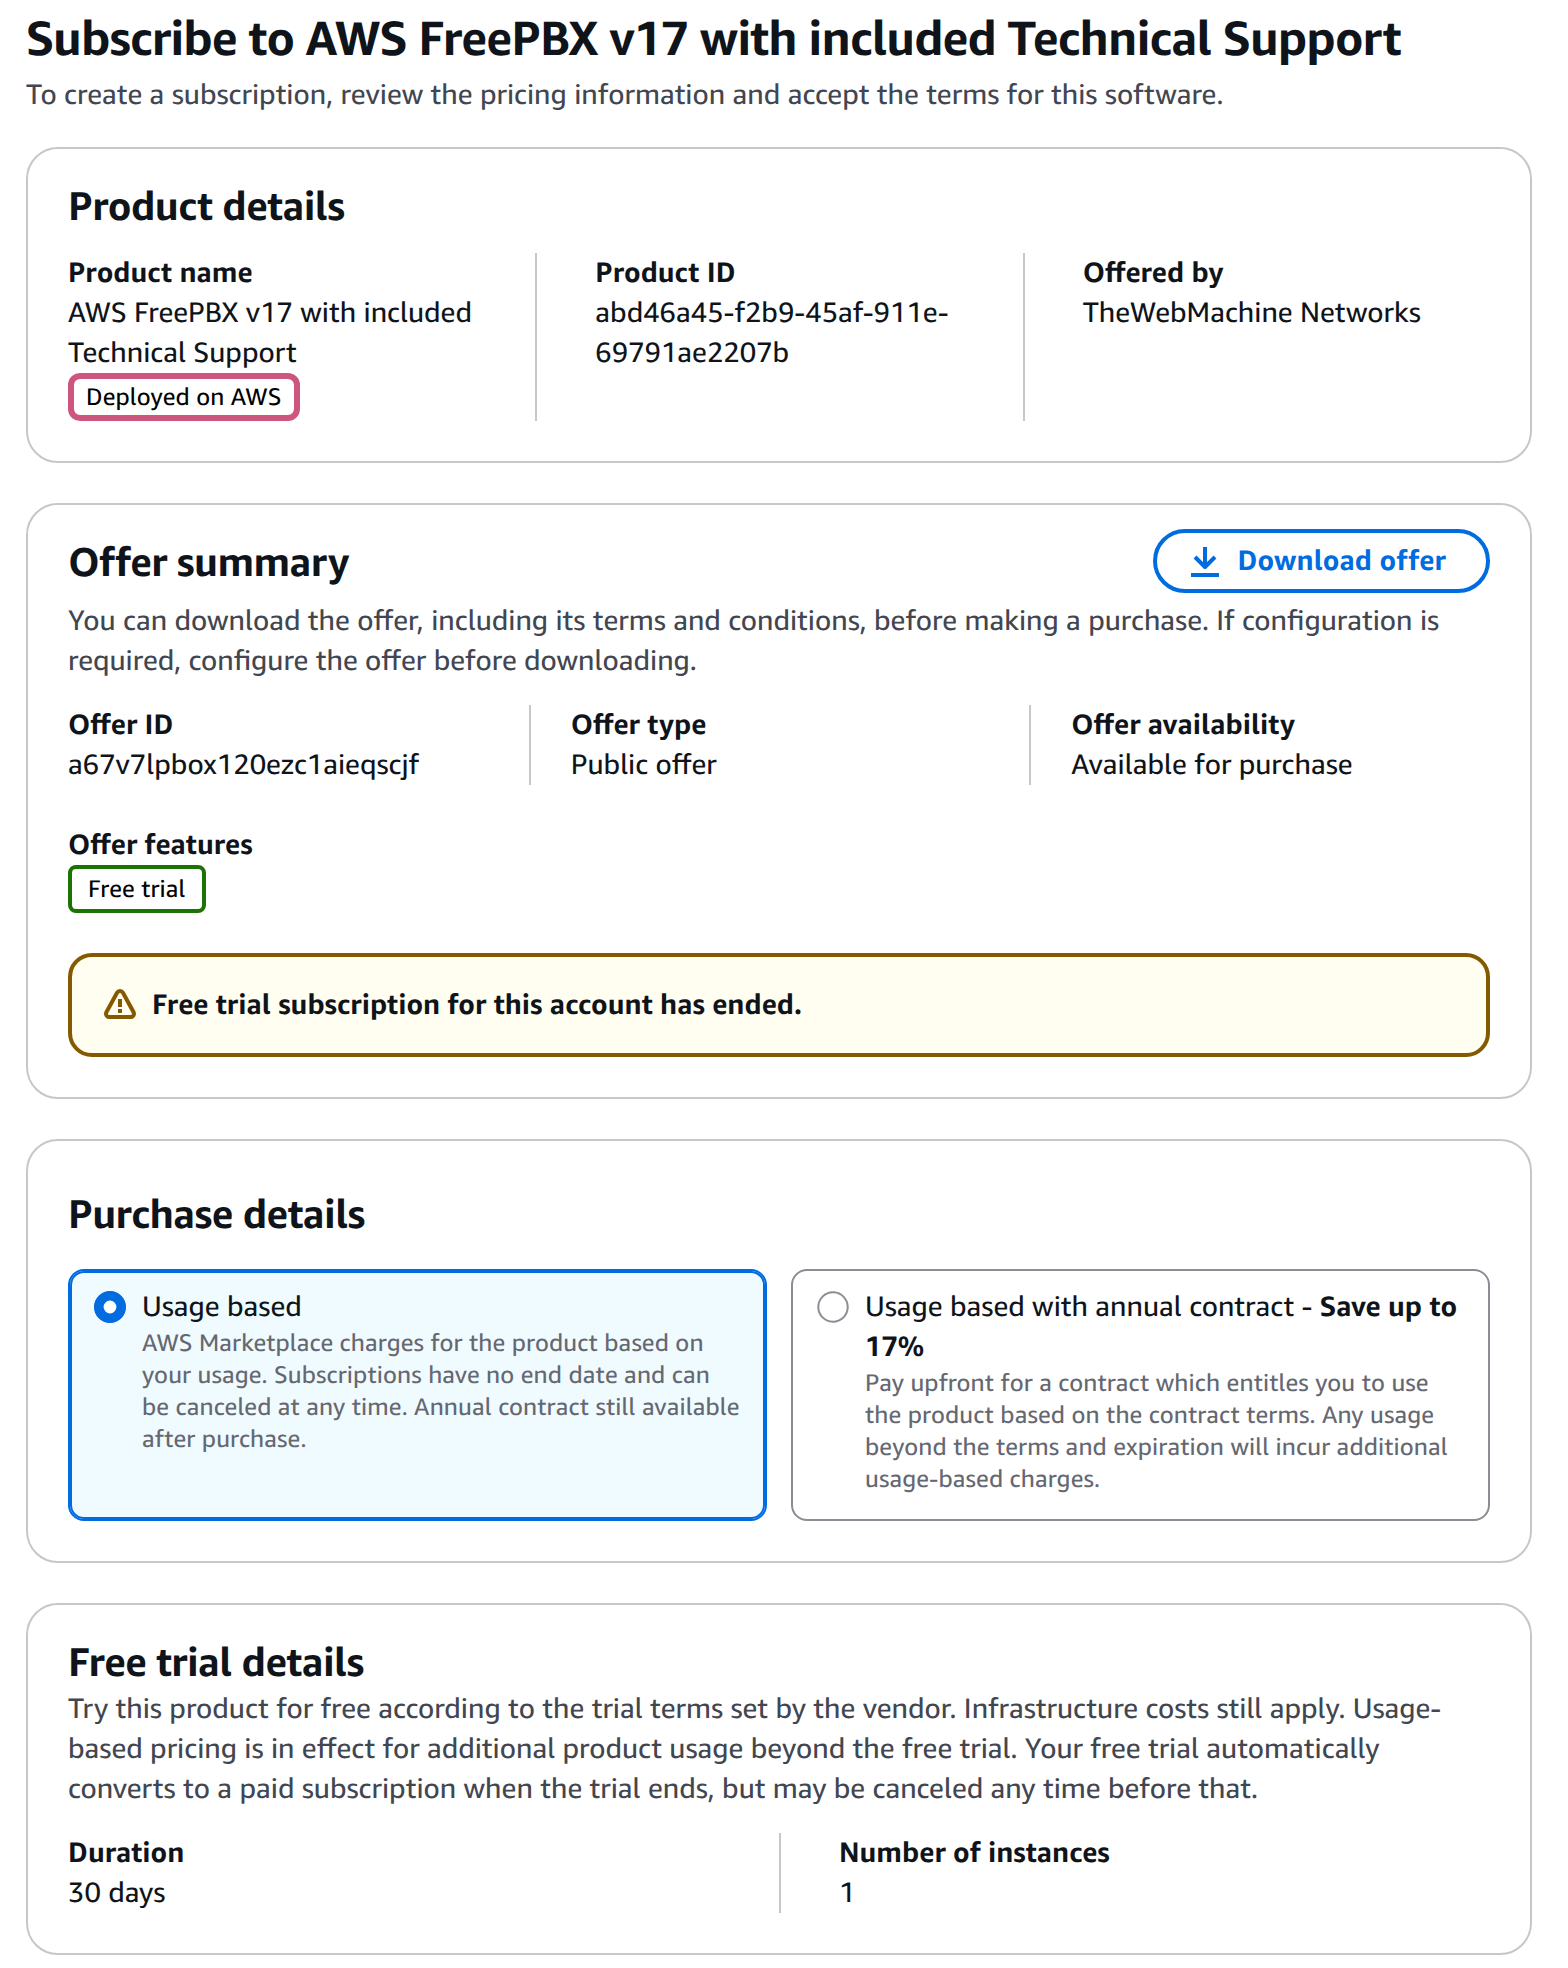
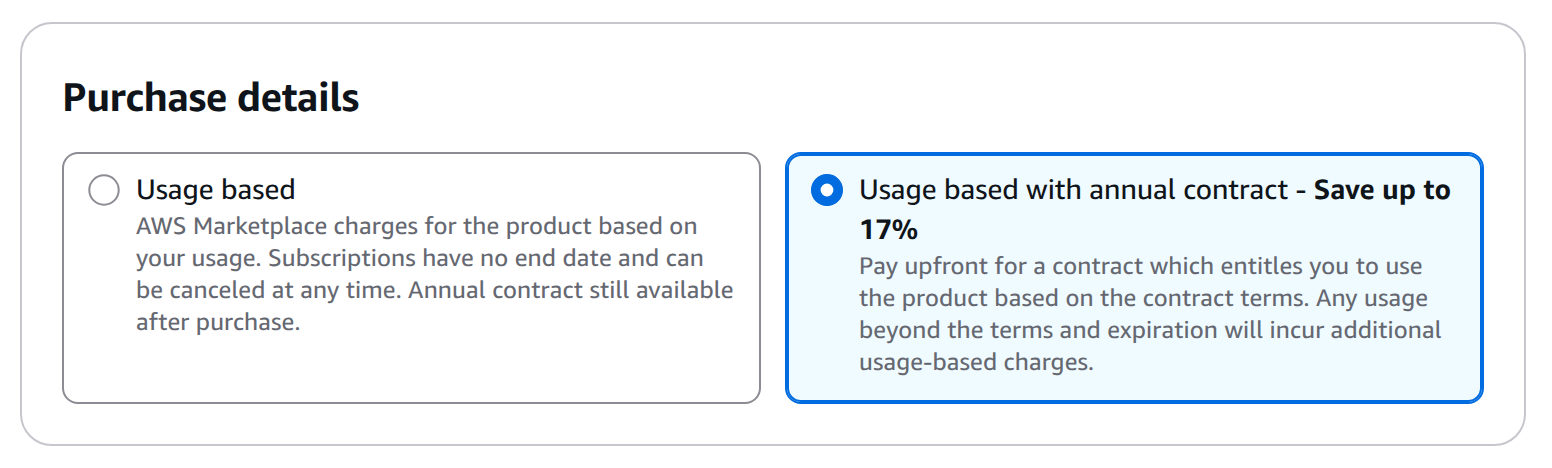
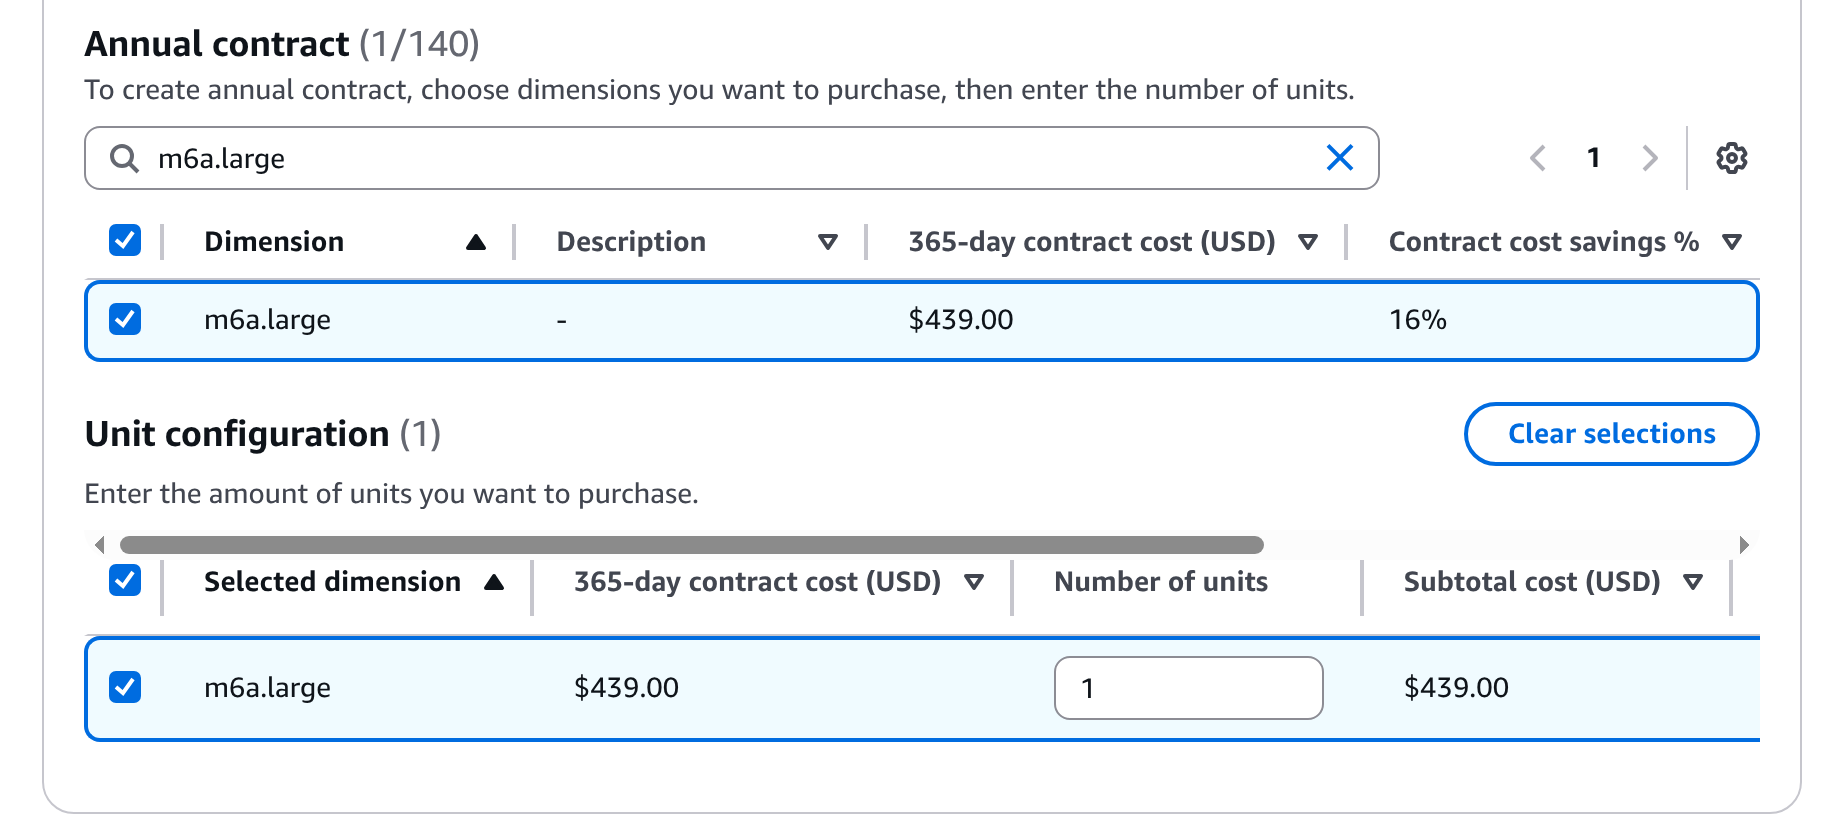
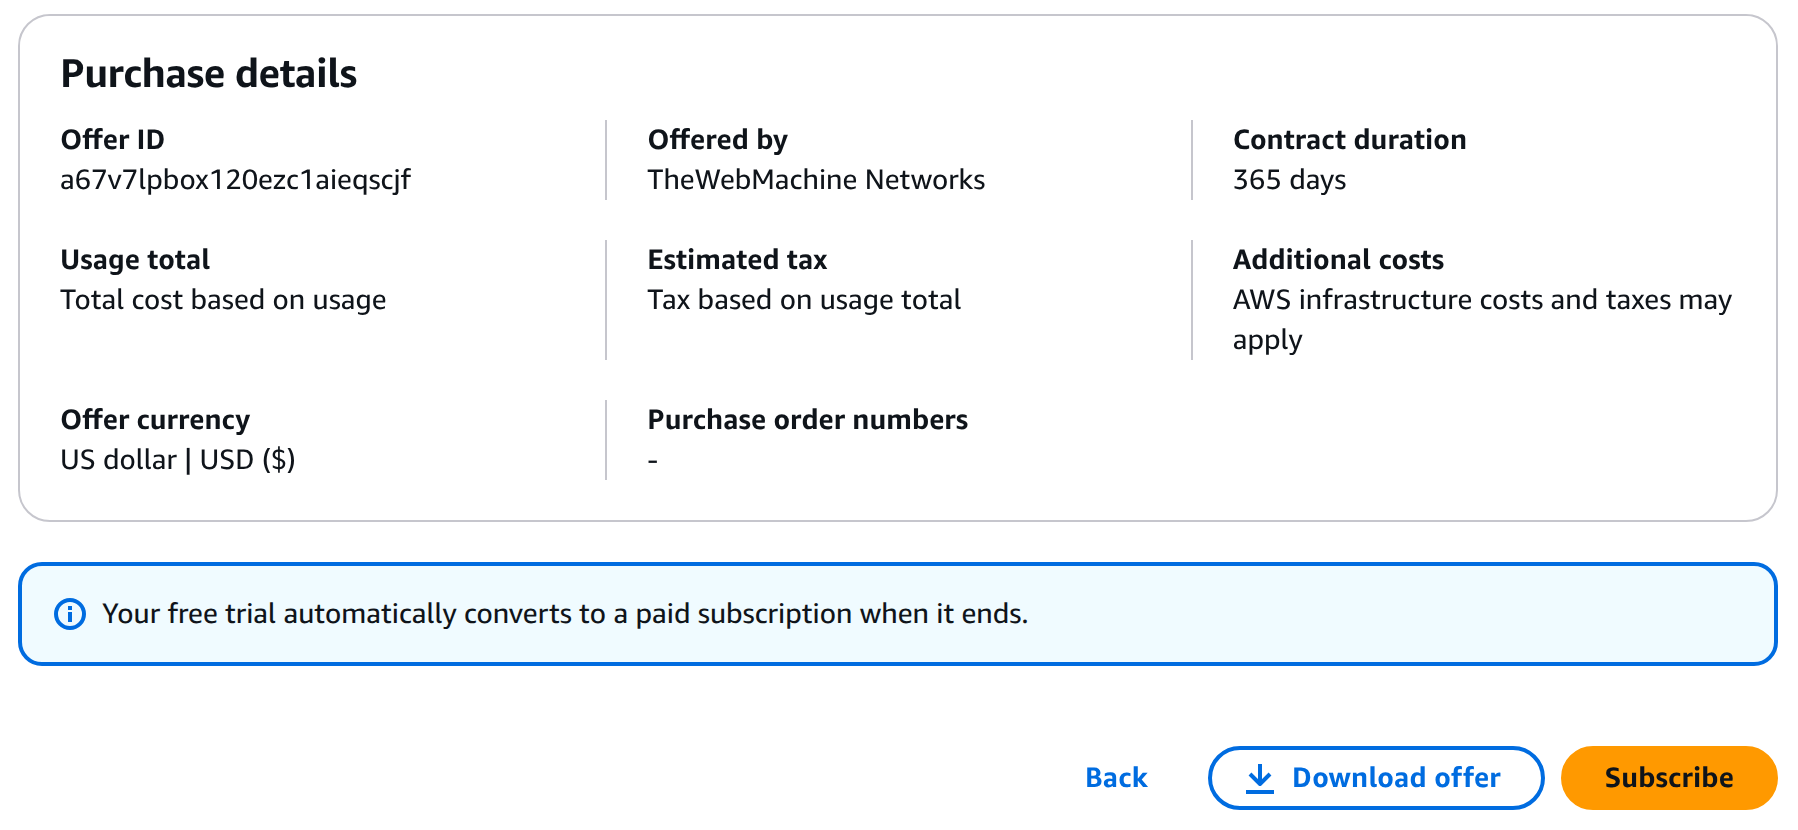
Once you have determined your Instance Type.Size and Storage needs, you need to Choose your desired Contract Type, Subscribe to our Product, and Launch your first Instance. You can view any existing Software Subscriptions here.
FIRST LAUNCH AND SETUP
LAUNCH AN INSTANCE
If you already have an agreement in place and simply want to launch additional instances, see LAUNCH VIA EC2 CONSOLE below.
LAUNCH VIA CONTRACT PAGE
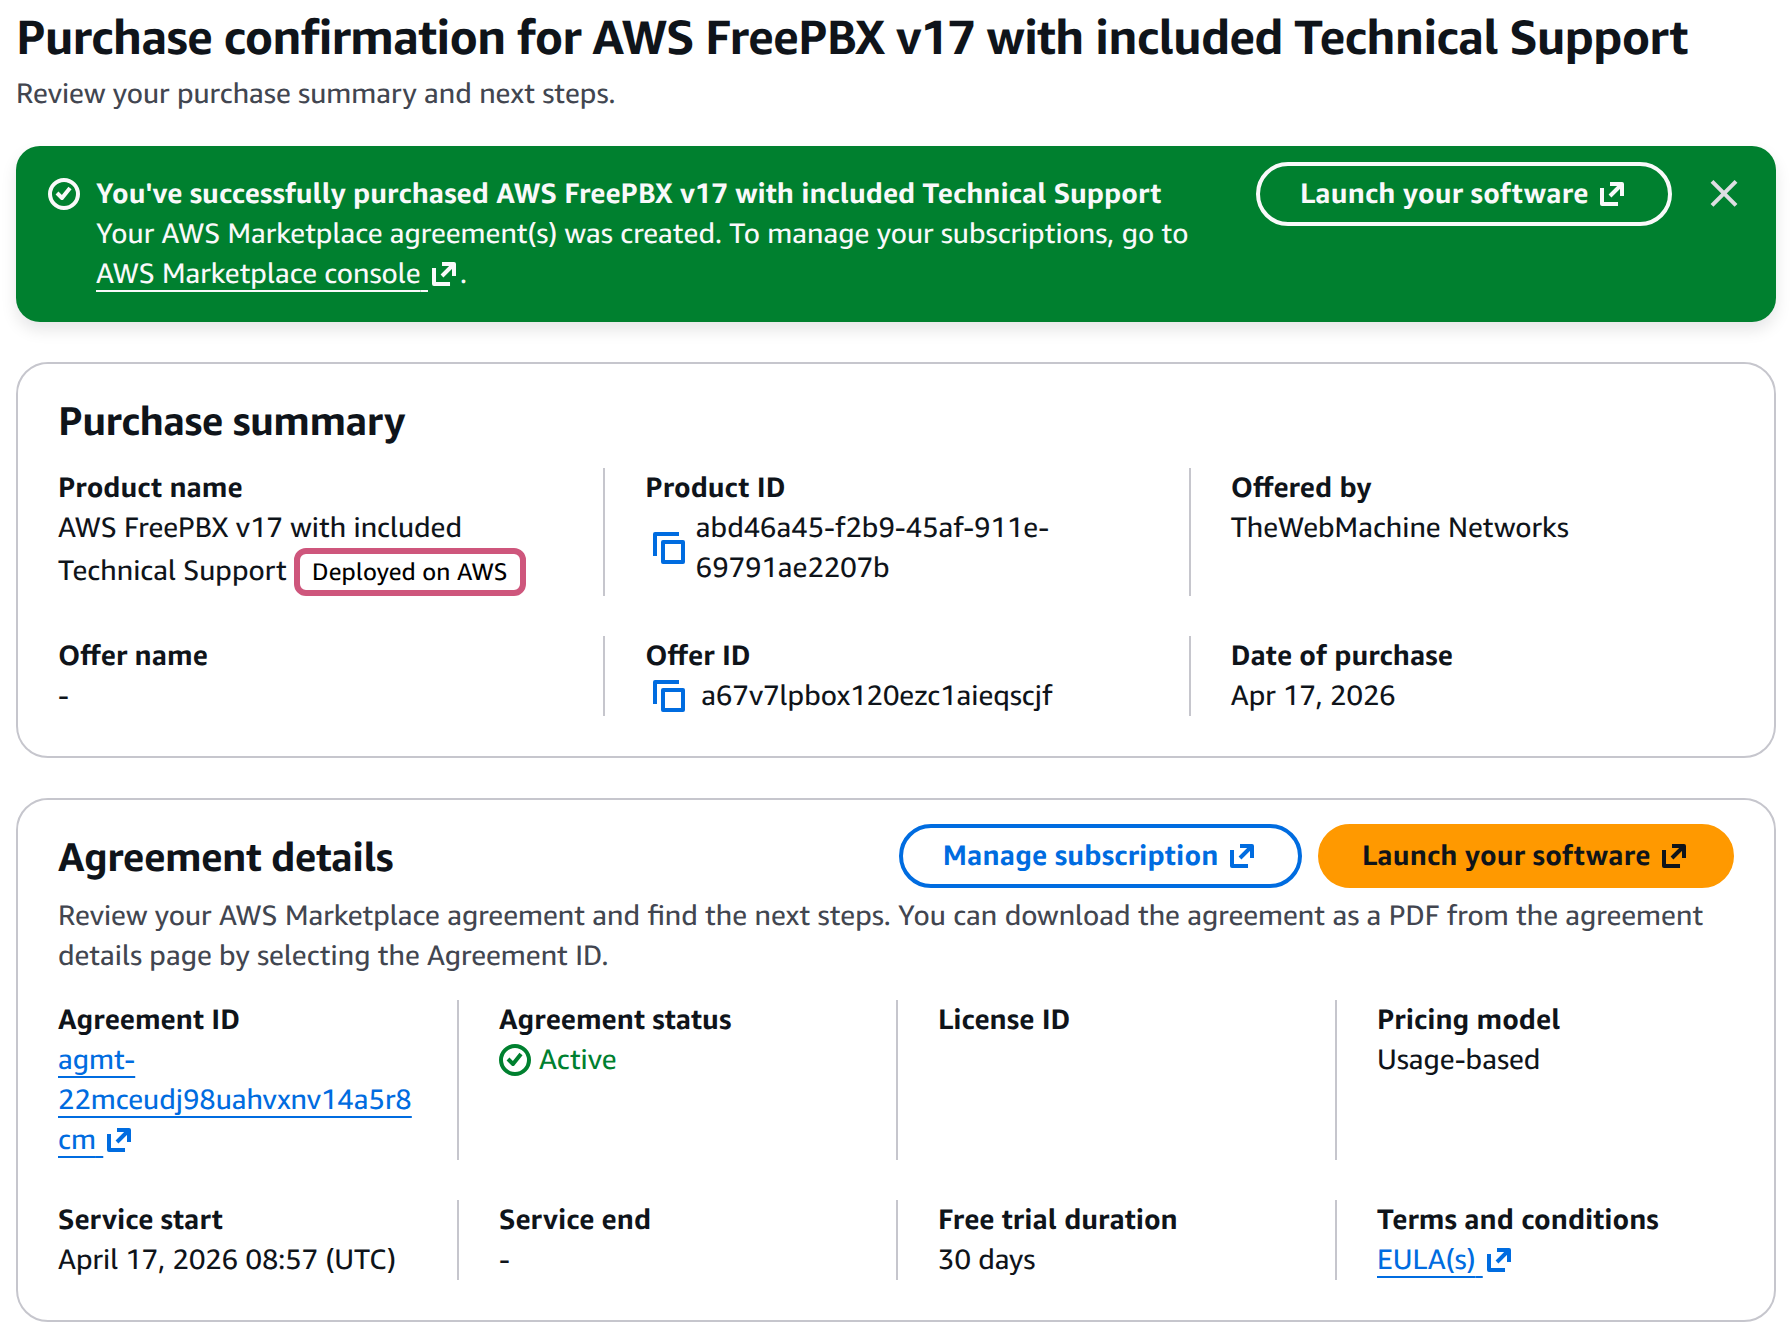
If you are launching directly from a new Contract signup above, simply choose the Launch your Software button on the page to proceed:
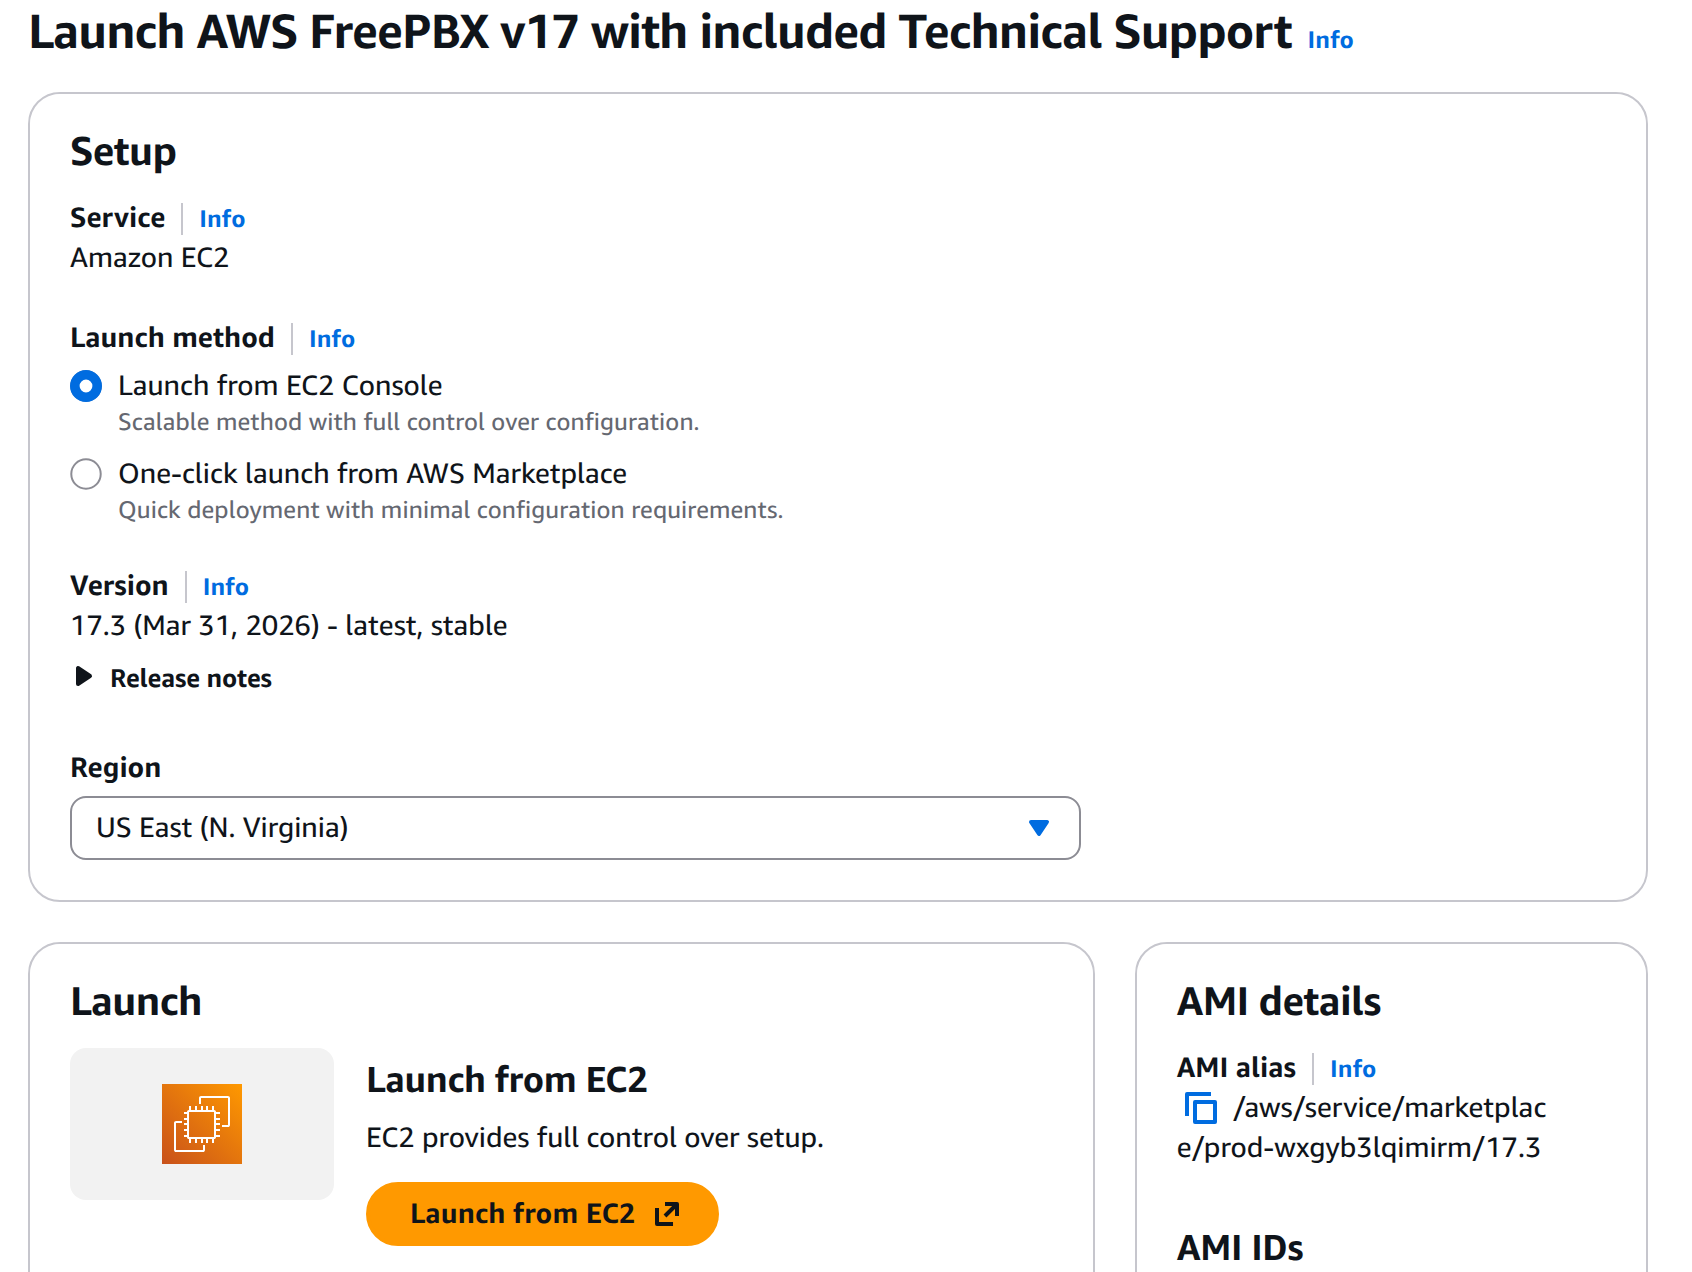
Now you may skip down to CONFIGURE LAUNCH DETAILS.
LAUNCH VIA EC2 CONSOLE
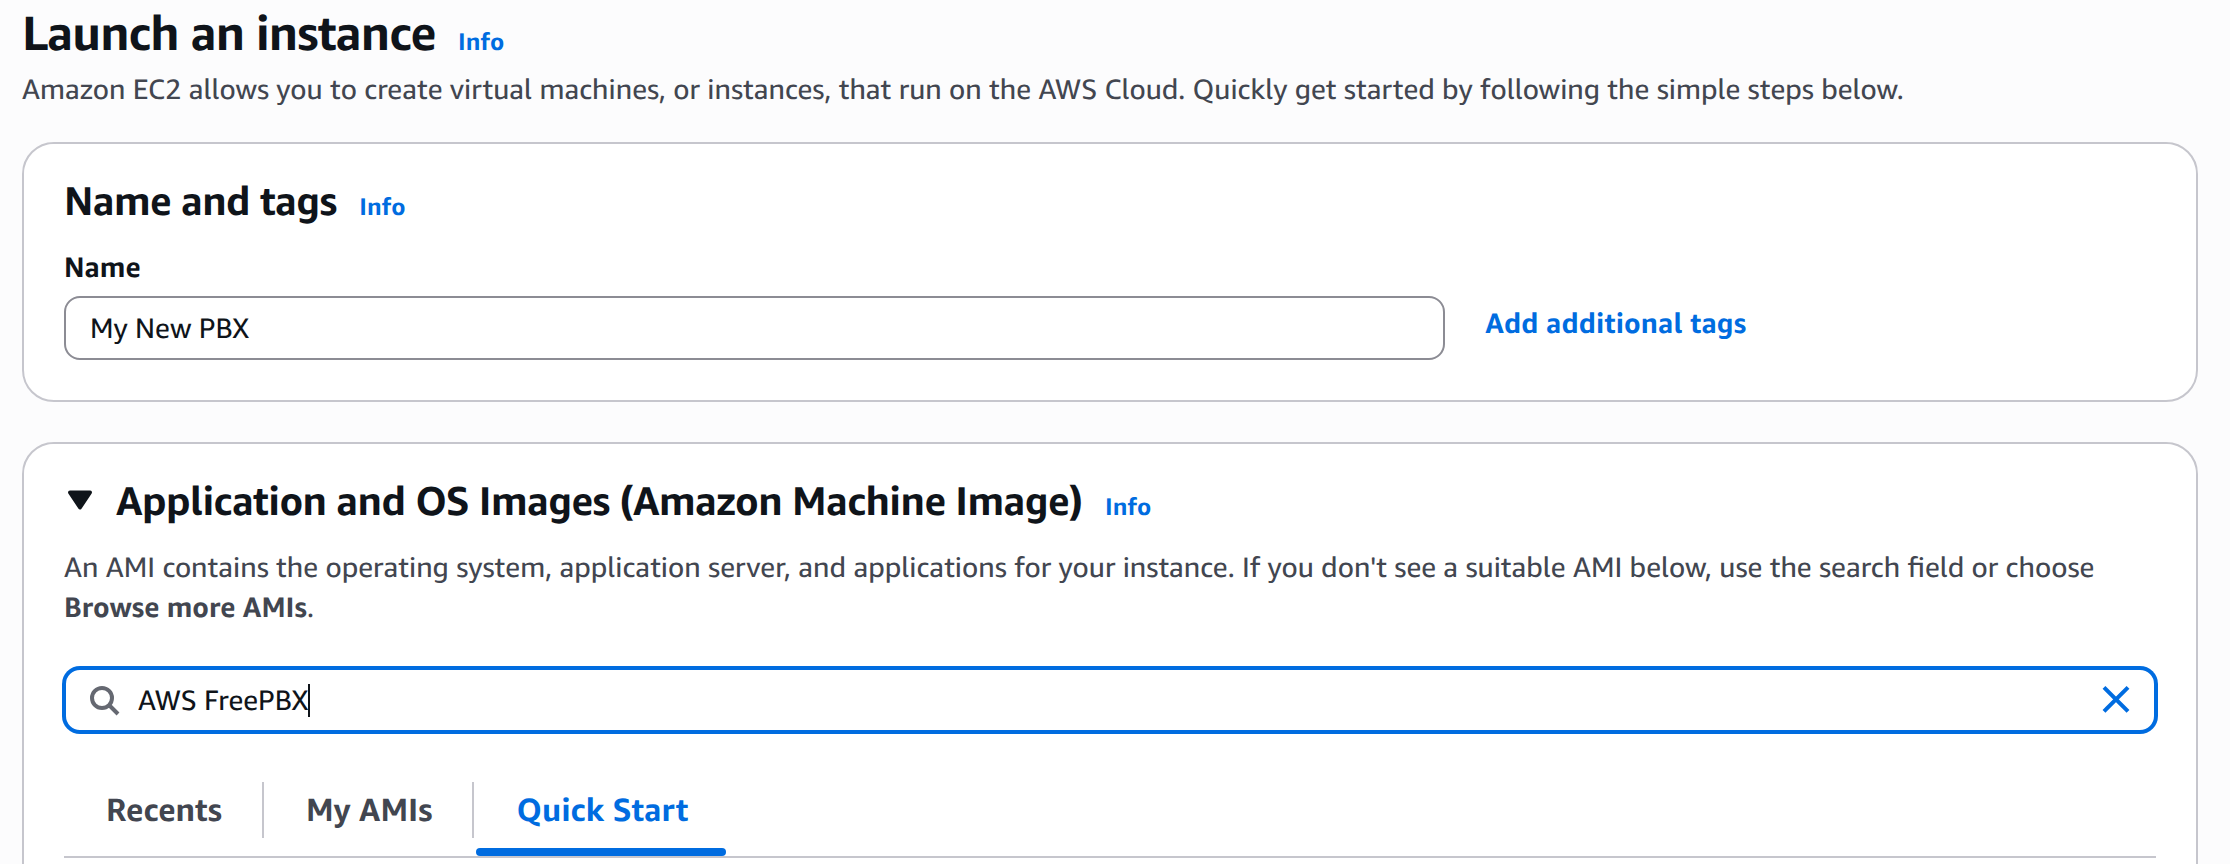
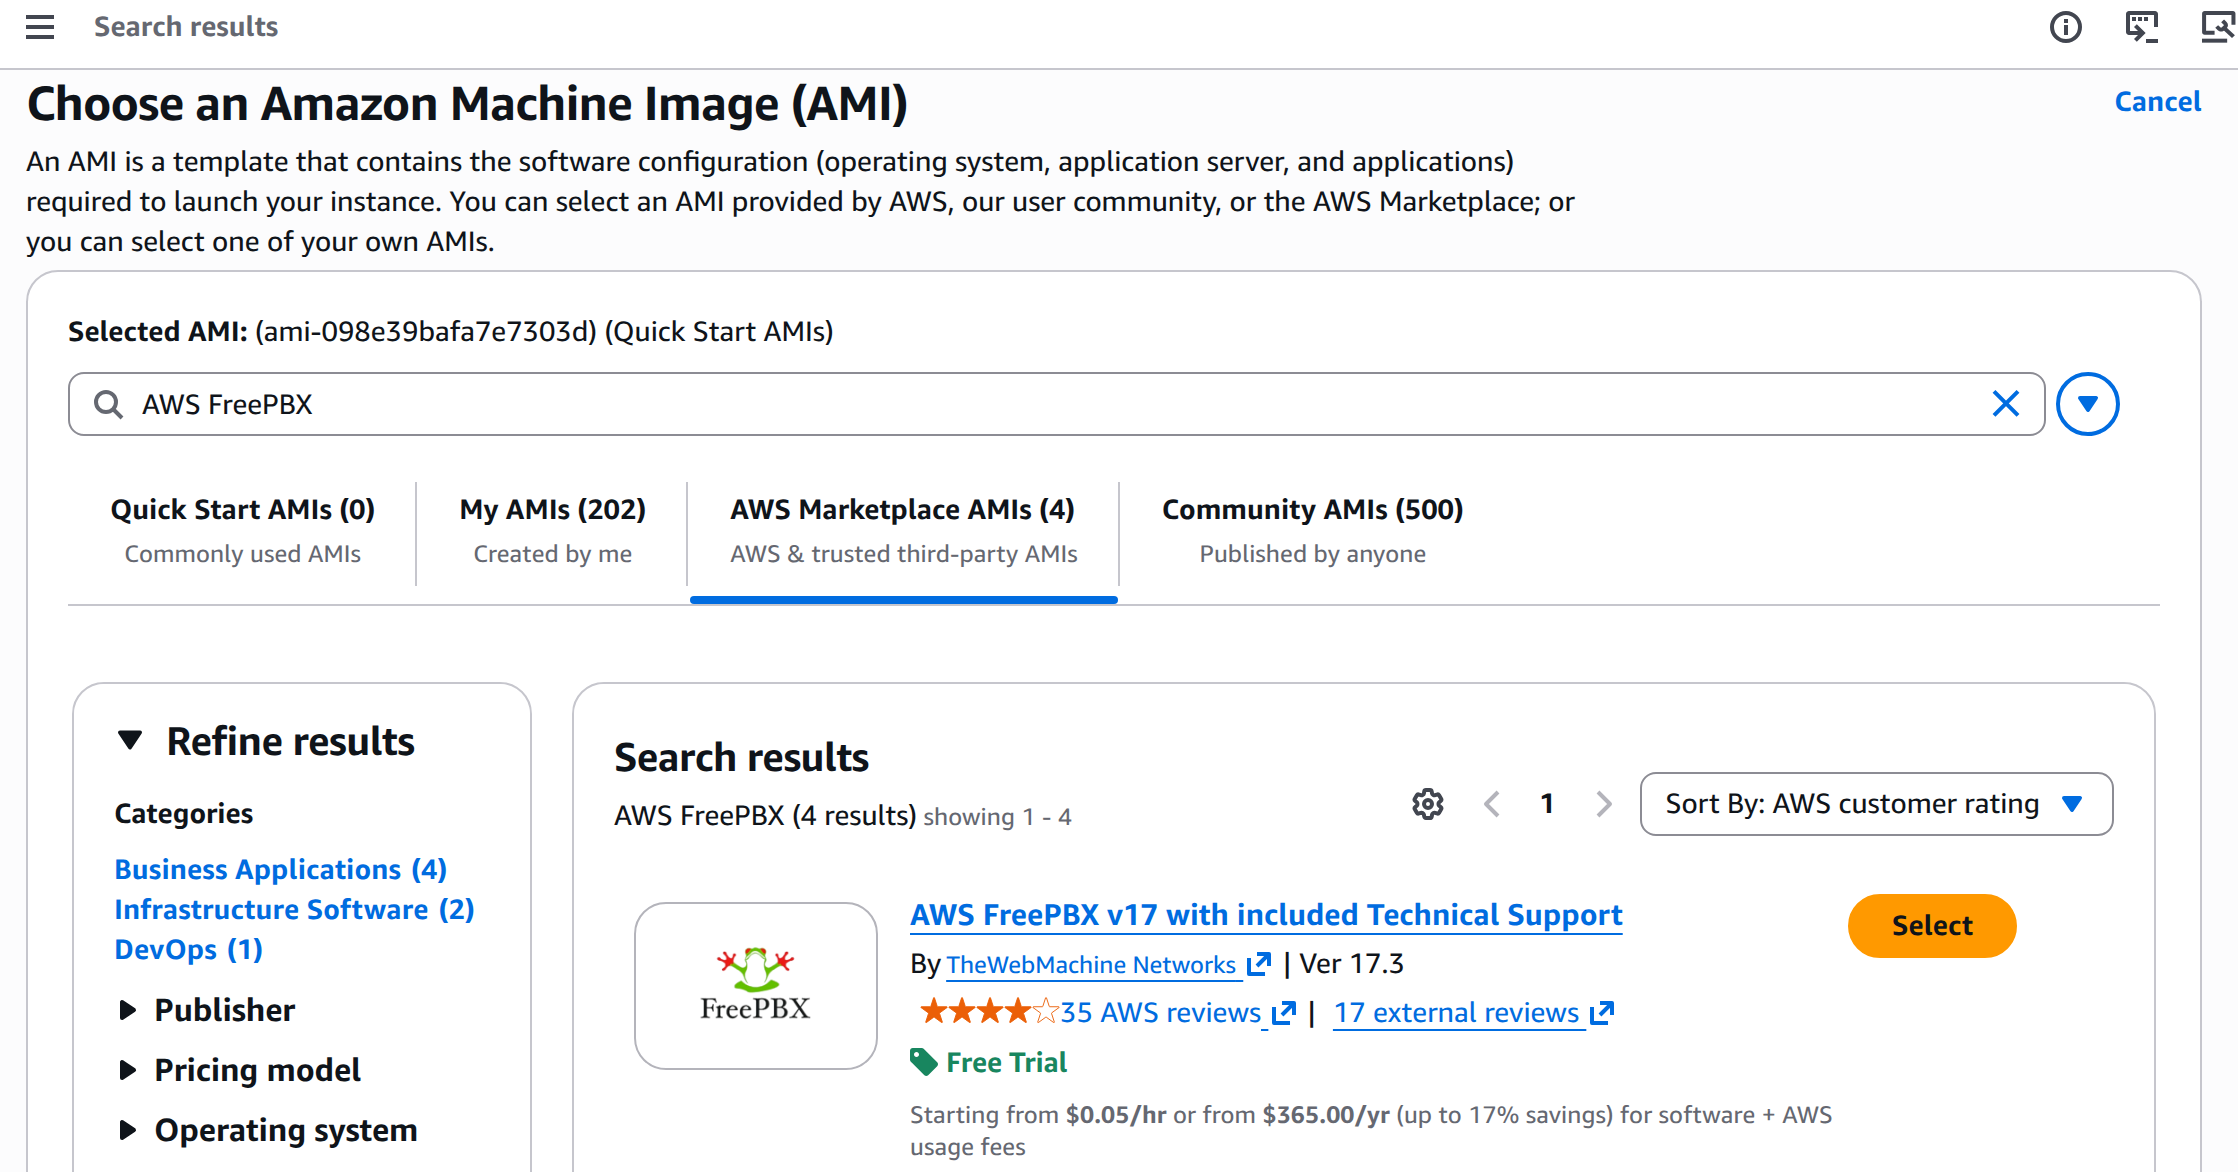
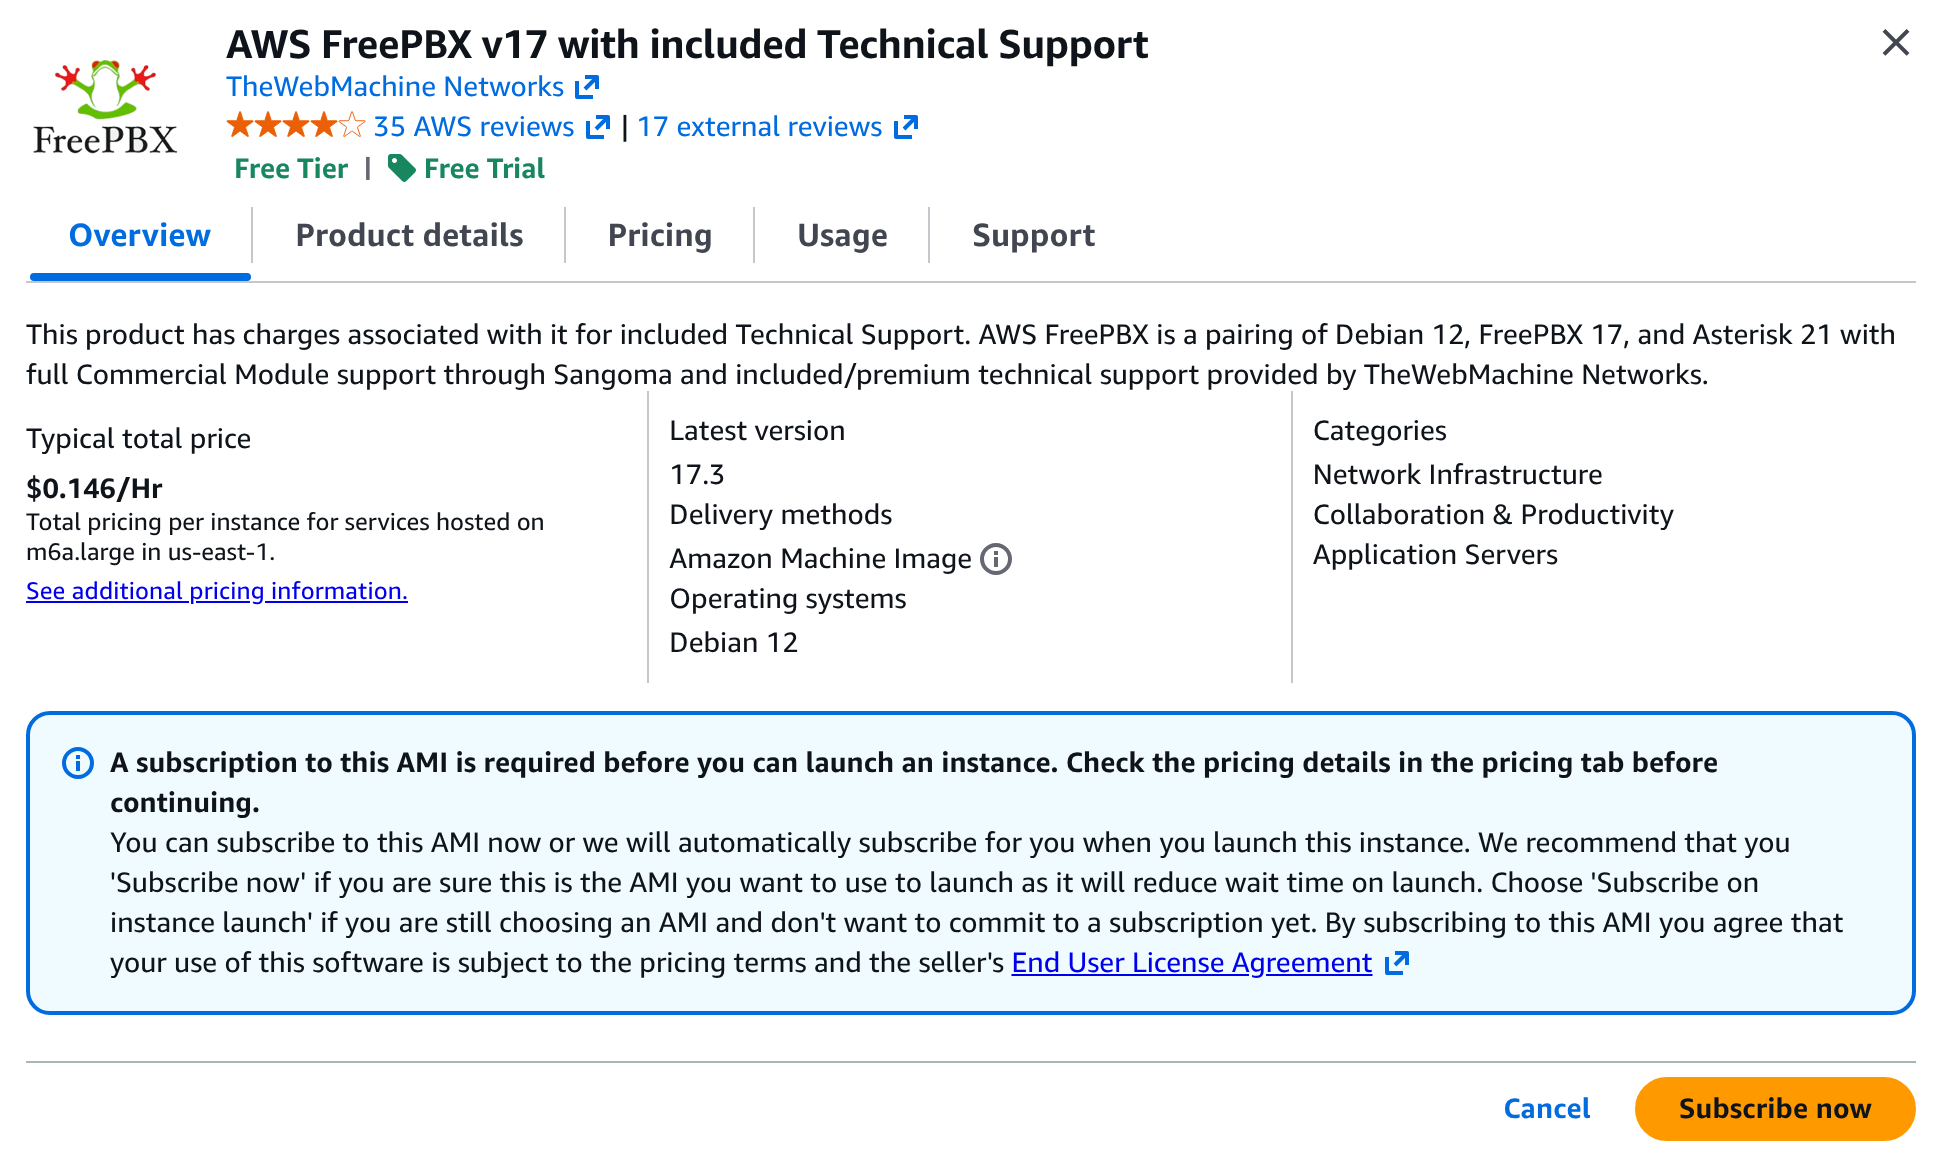
Alternatively, if you already have an agreement in place and wish to launch a new instance directly from within the EC2 Console, simply click the Launch Instance(s) button within the EC2 Console, then type AWS FreePBX into the Catalog search box and press Enter to bring up the full search window, click the AWS Marketplace AMIs tab, then Select our product from the results. In the popup, choose Subscribe now. (Yes, it is redundant.)
Sorting results by AWS Customer Rating will bring us to the top of the list. 
CONFIGURE LAUNCH DETAILS
Now that you are on the Launch an Instance page, you'll need to step through all of the sections to configure your instance. Start by giving the Instance a Name:
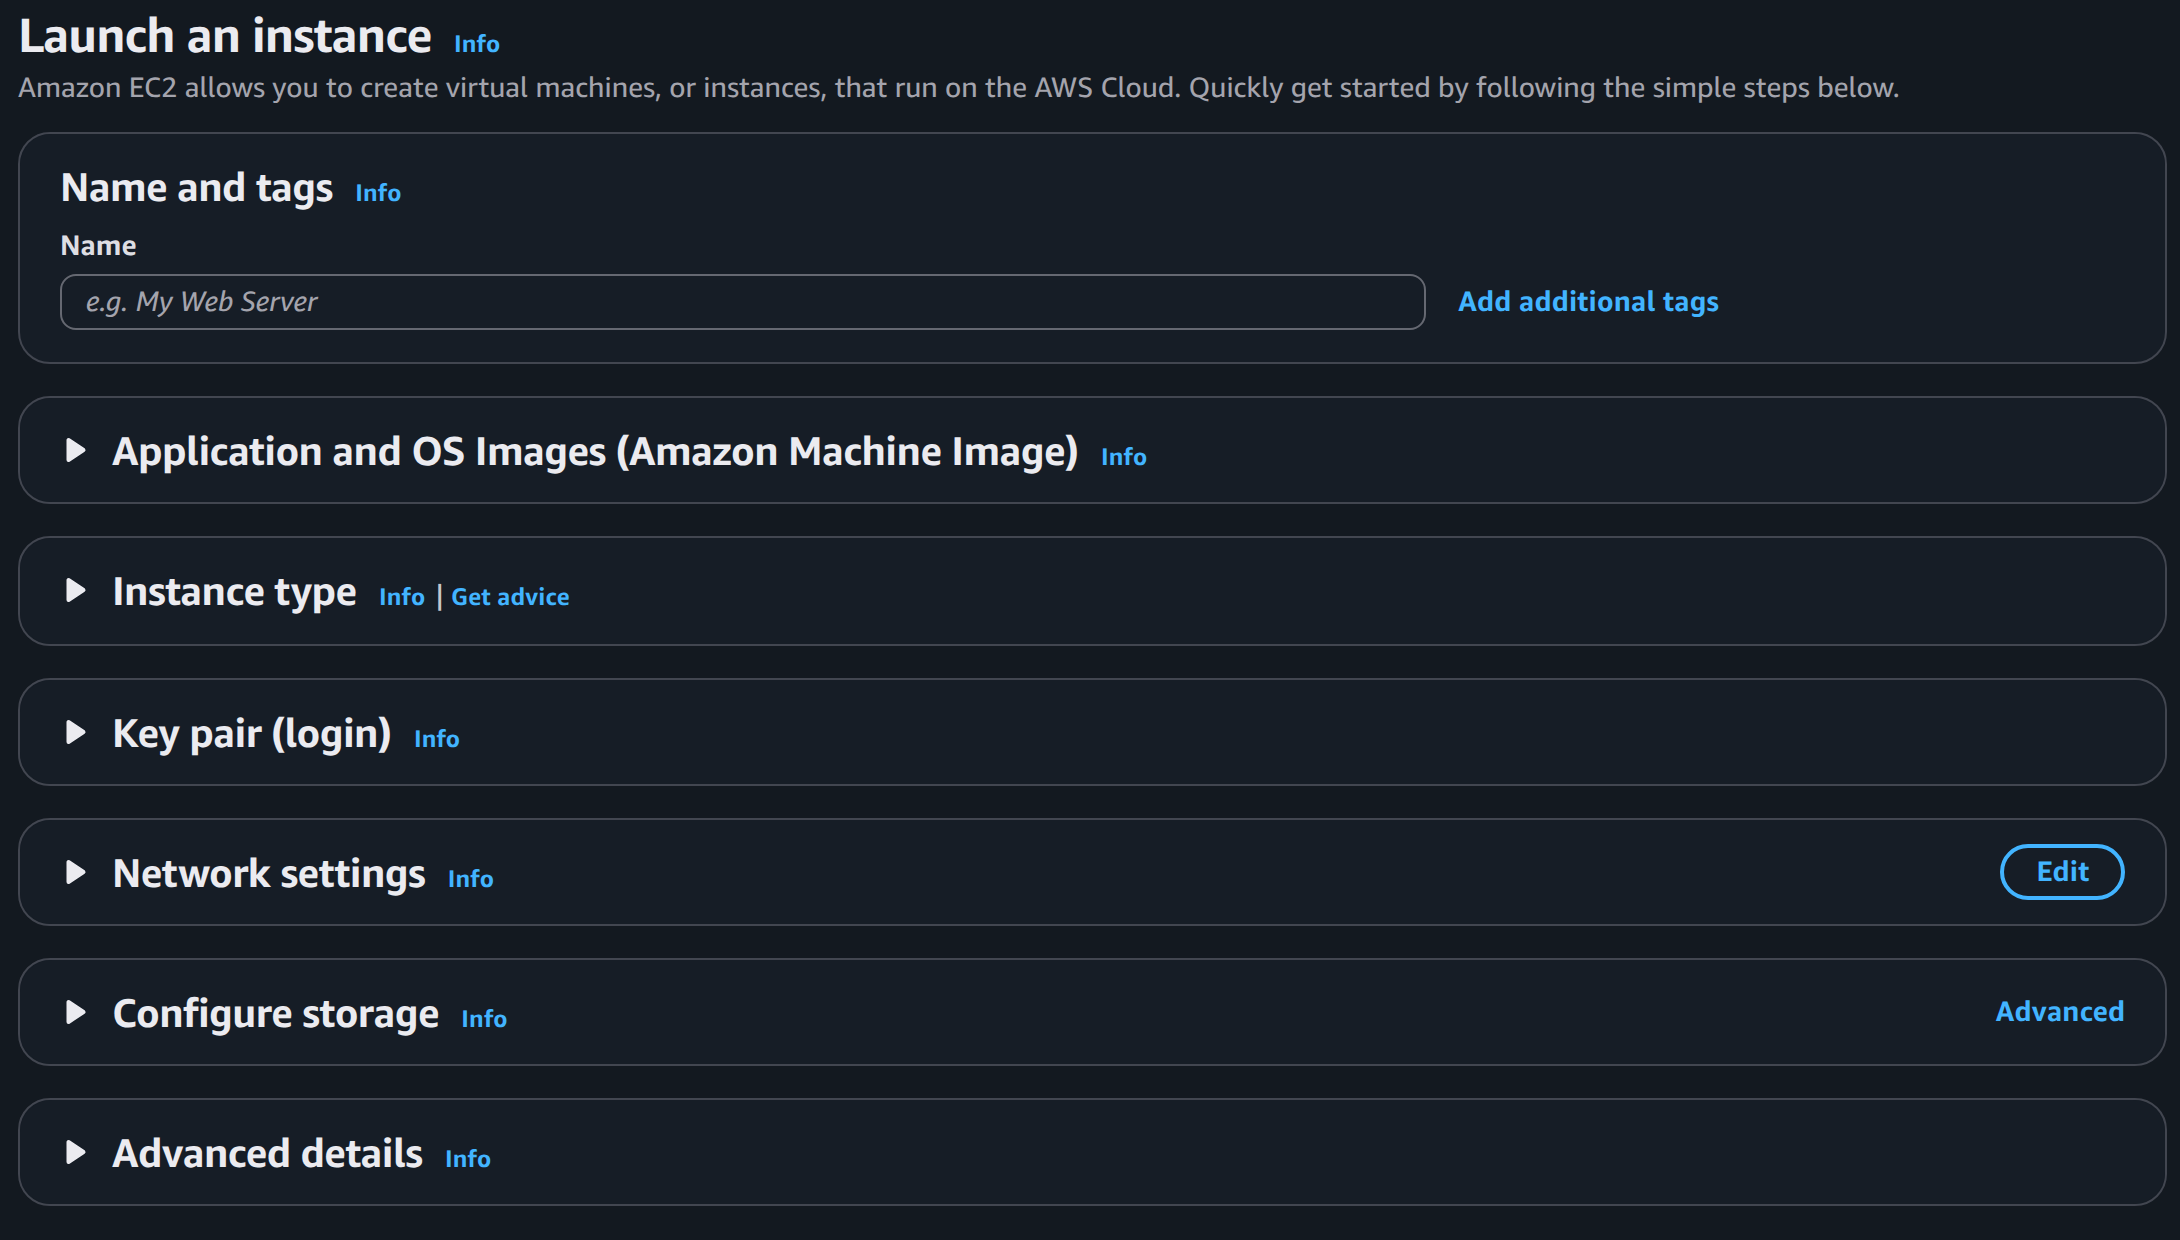
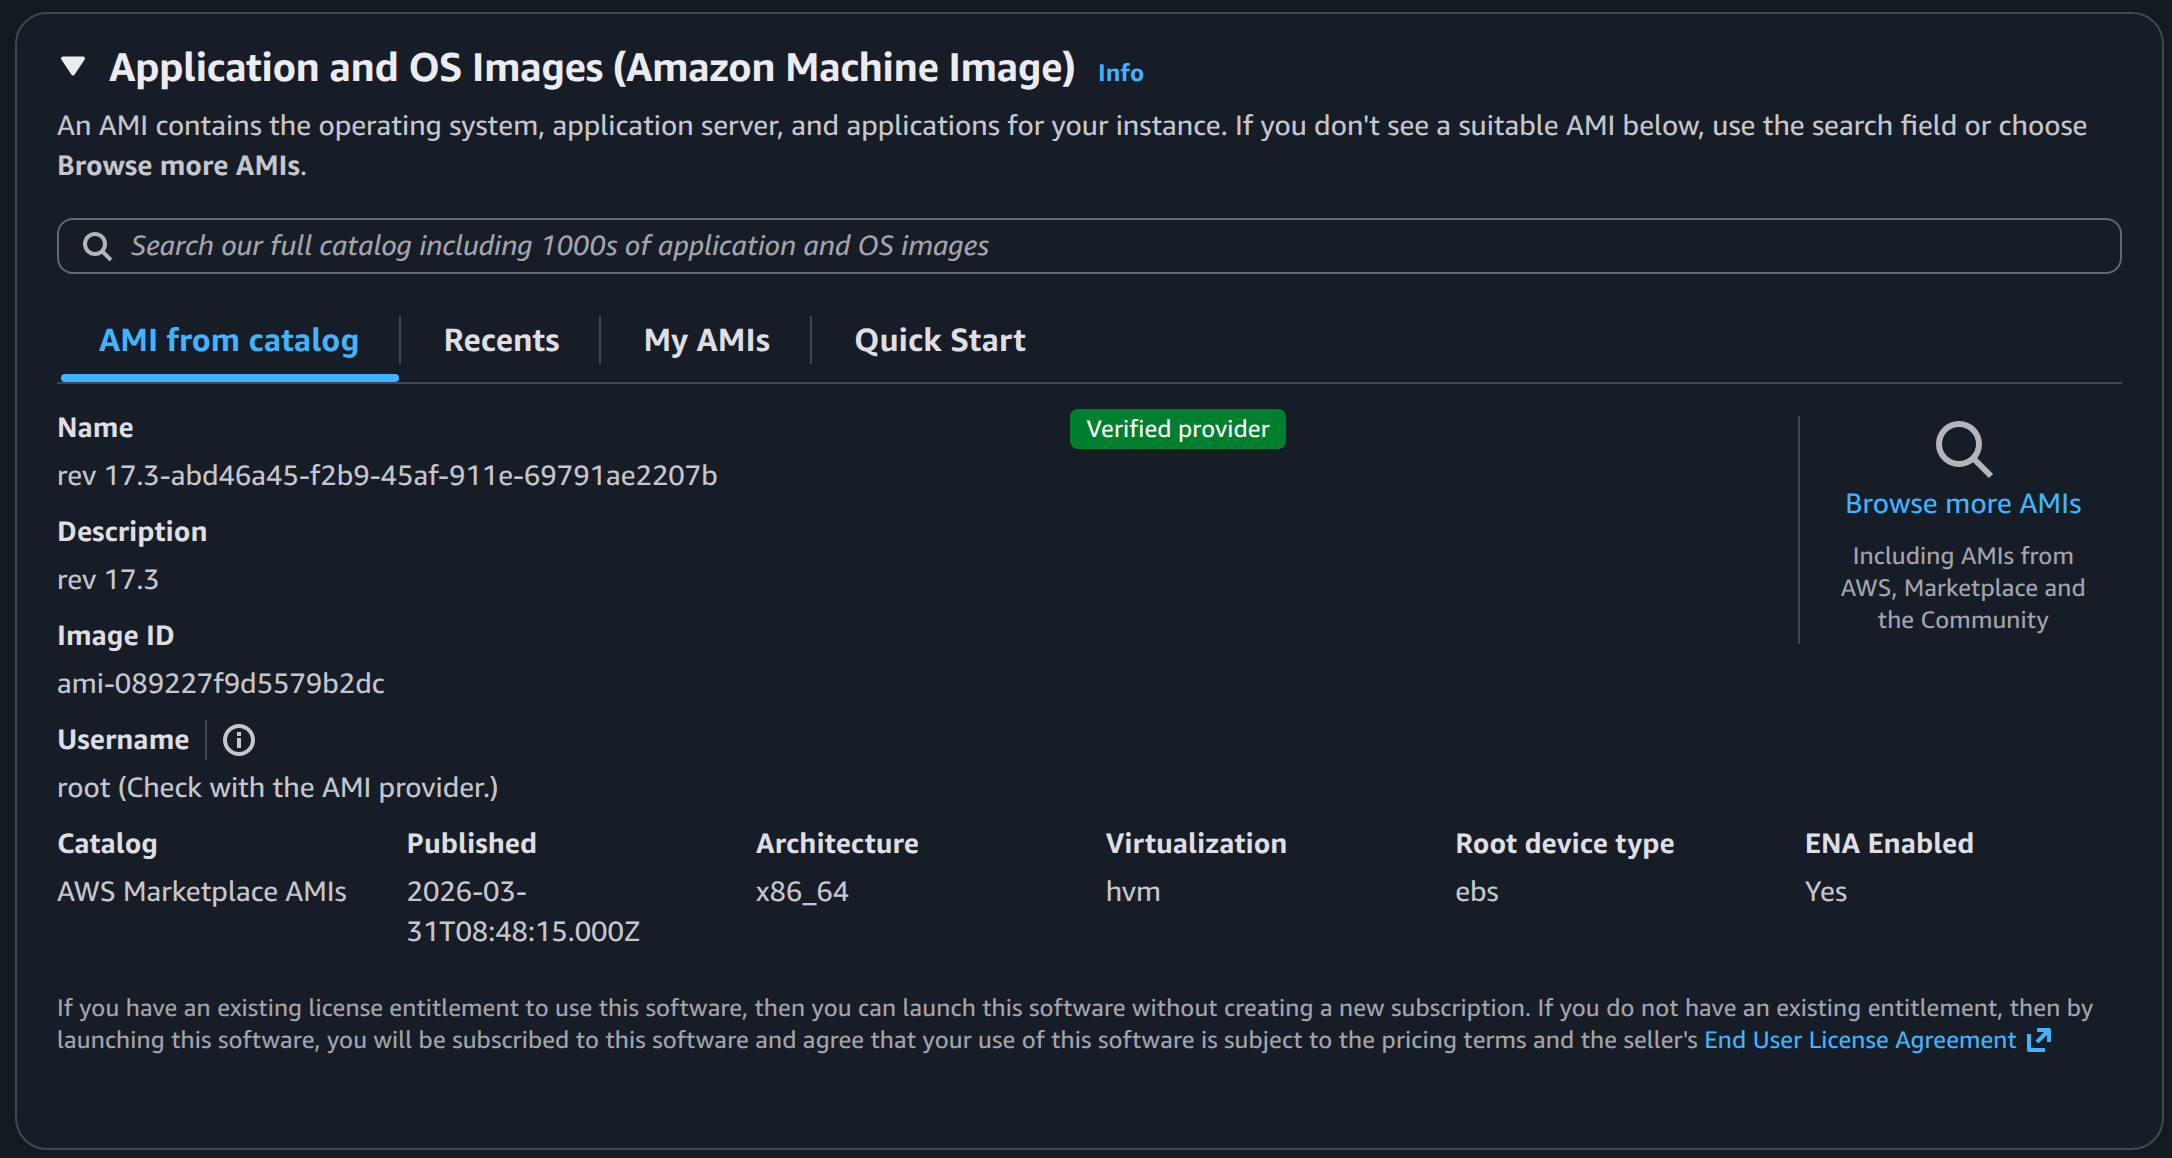
We'll step through each remaining section. Expand them to see more details and screenshots.
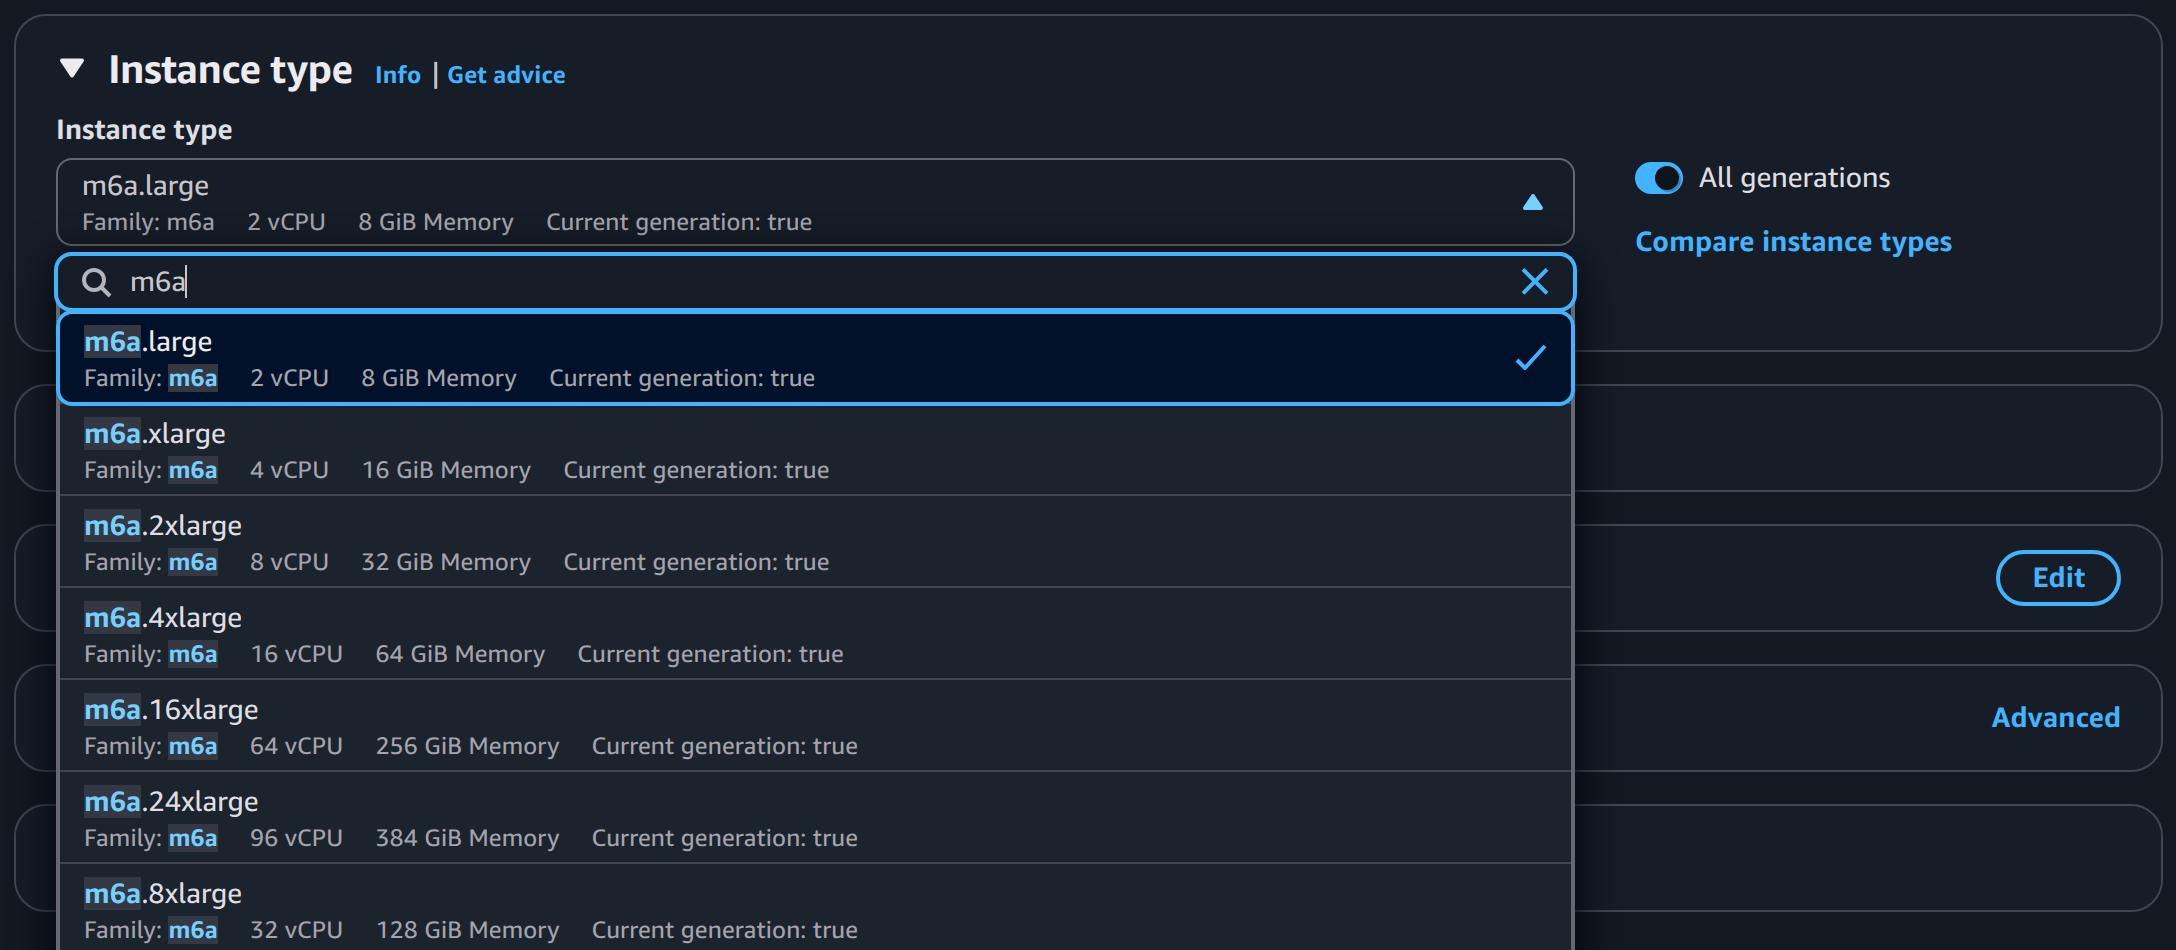

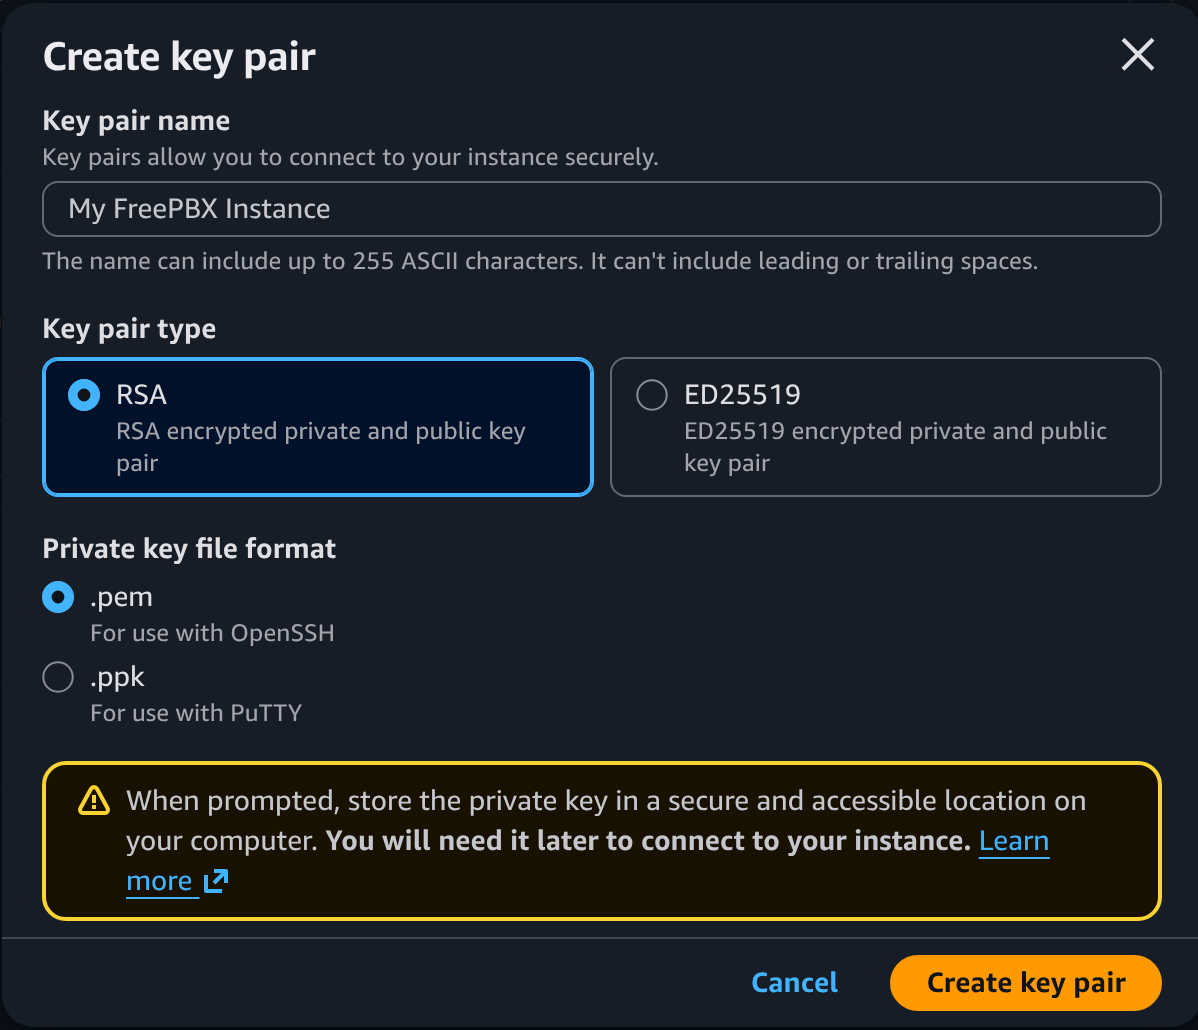
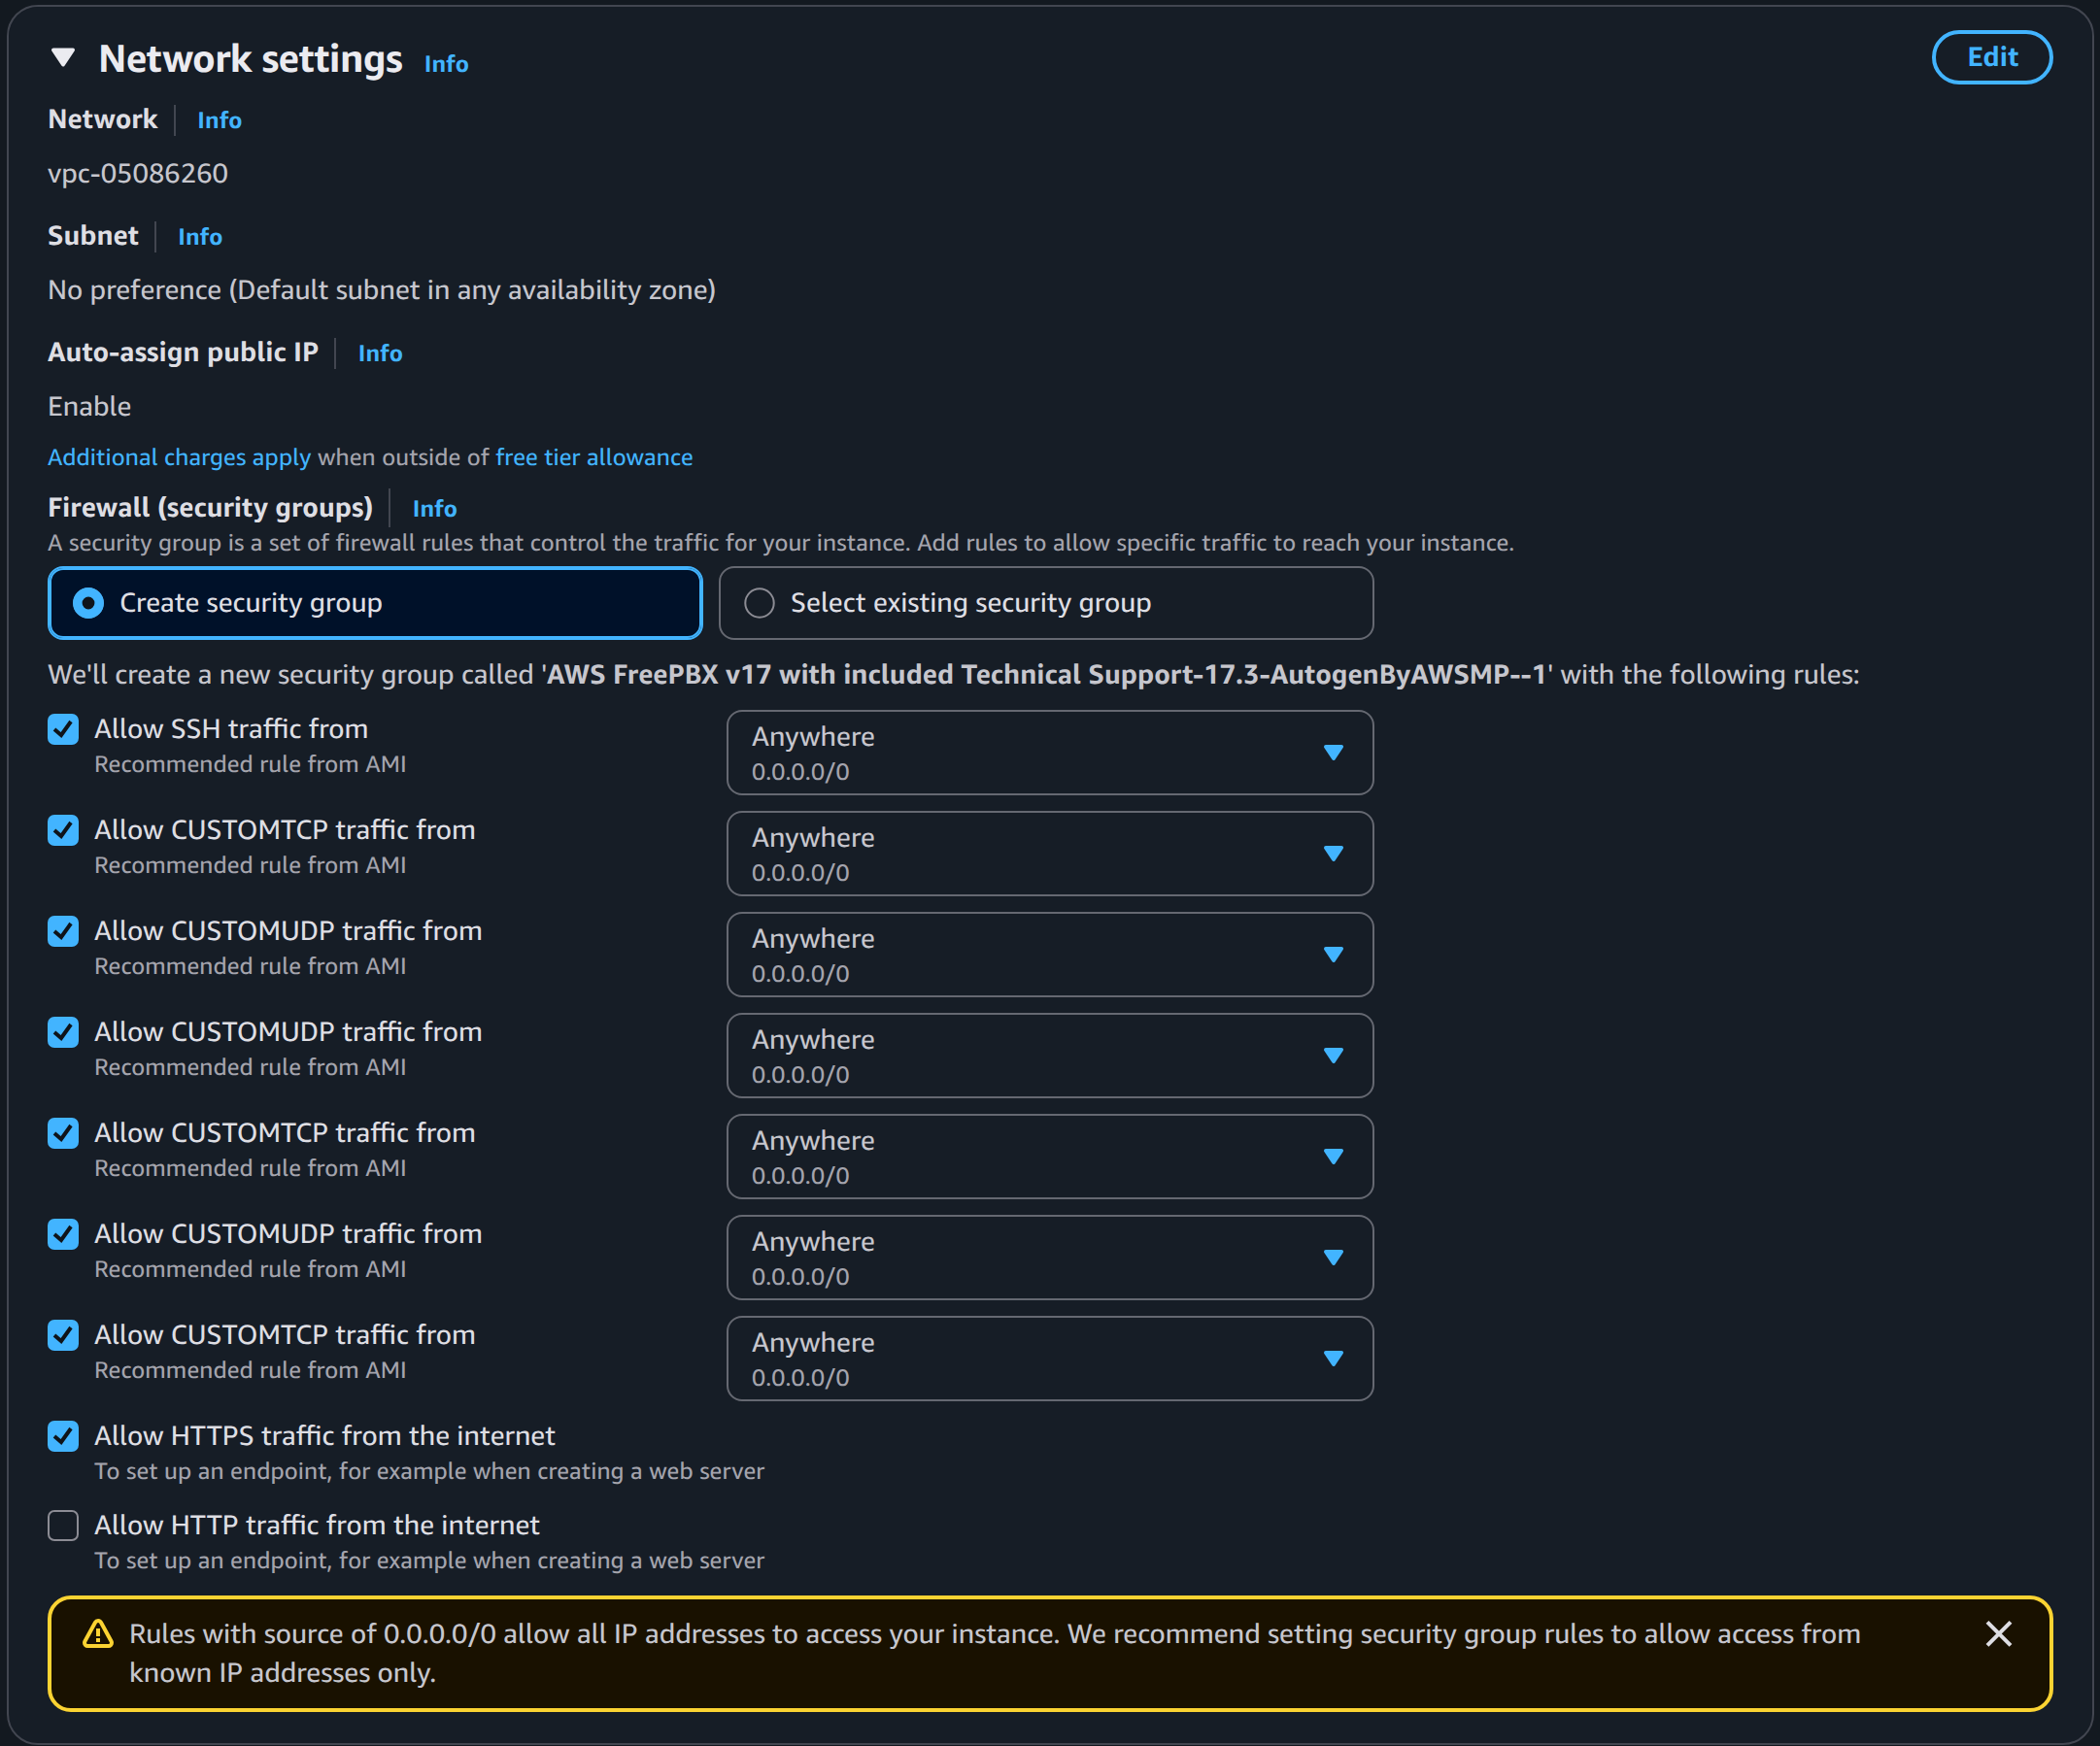
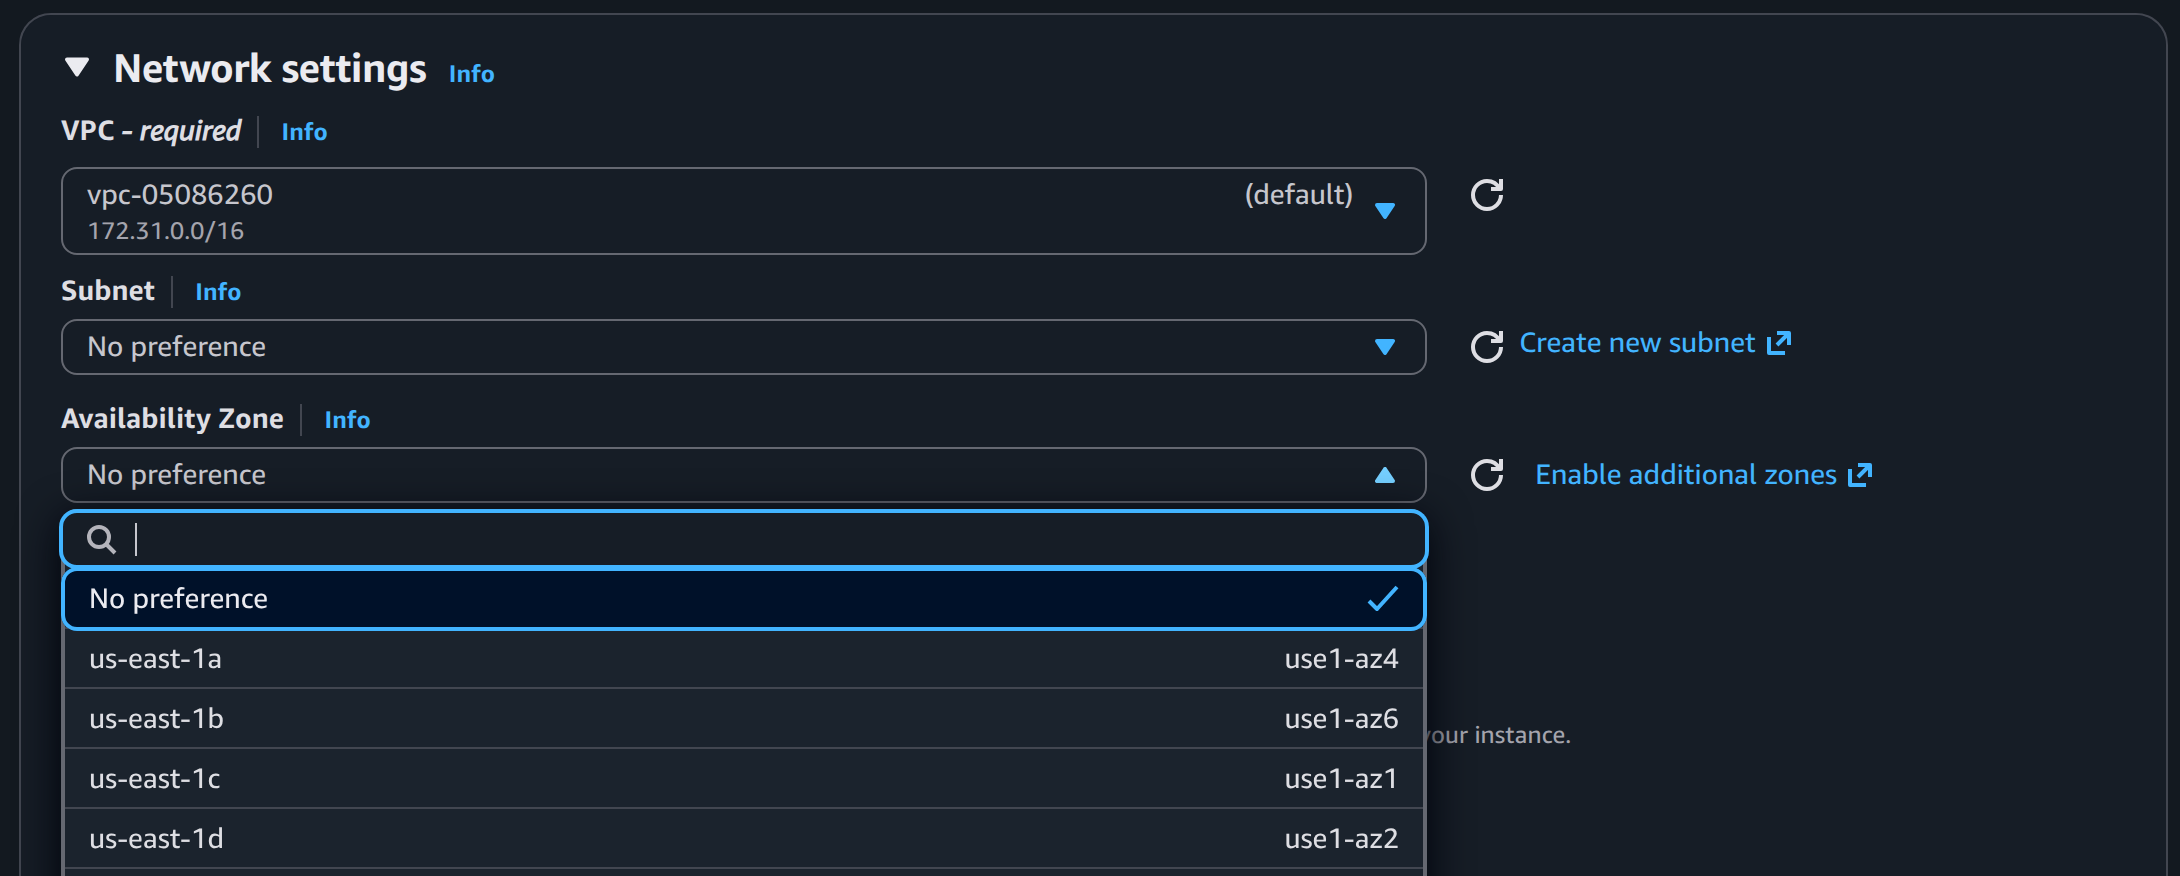
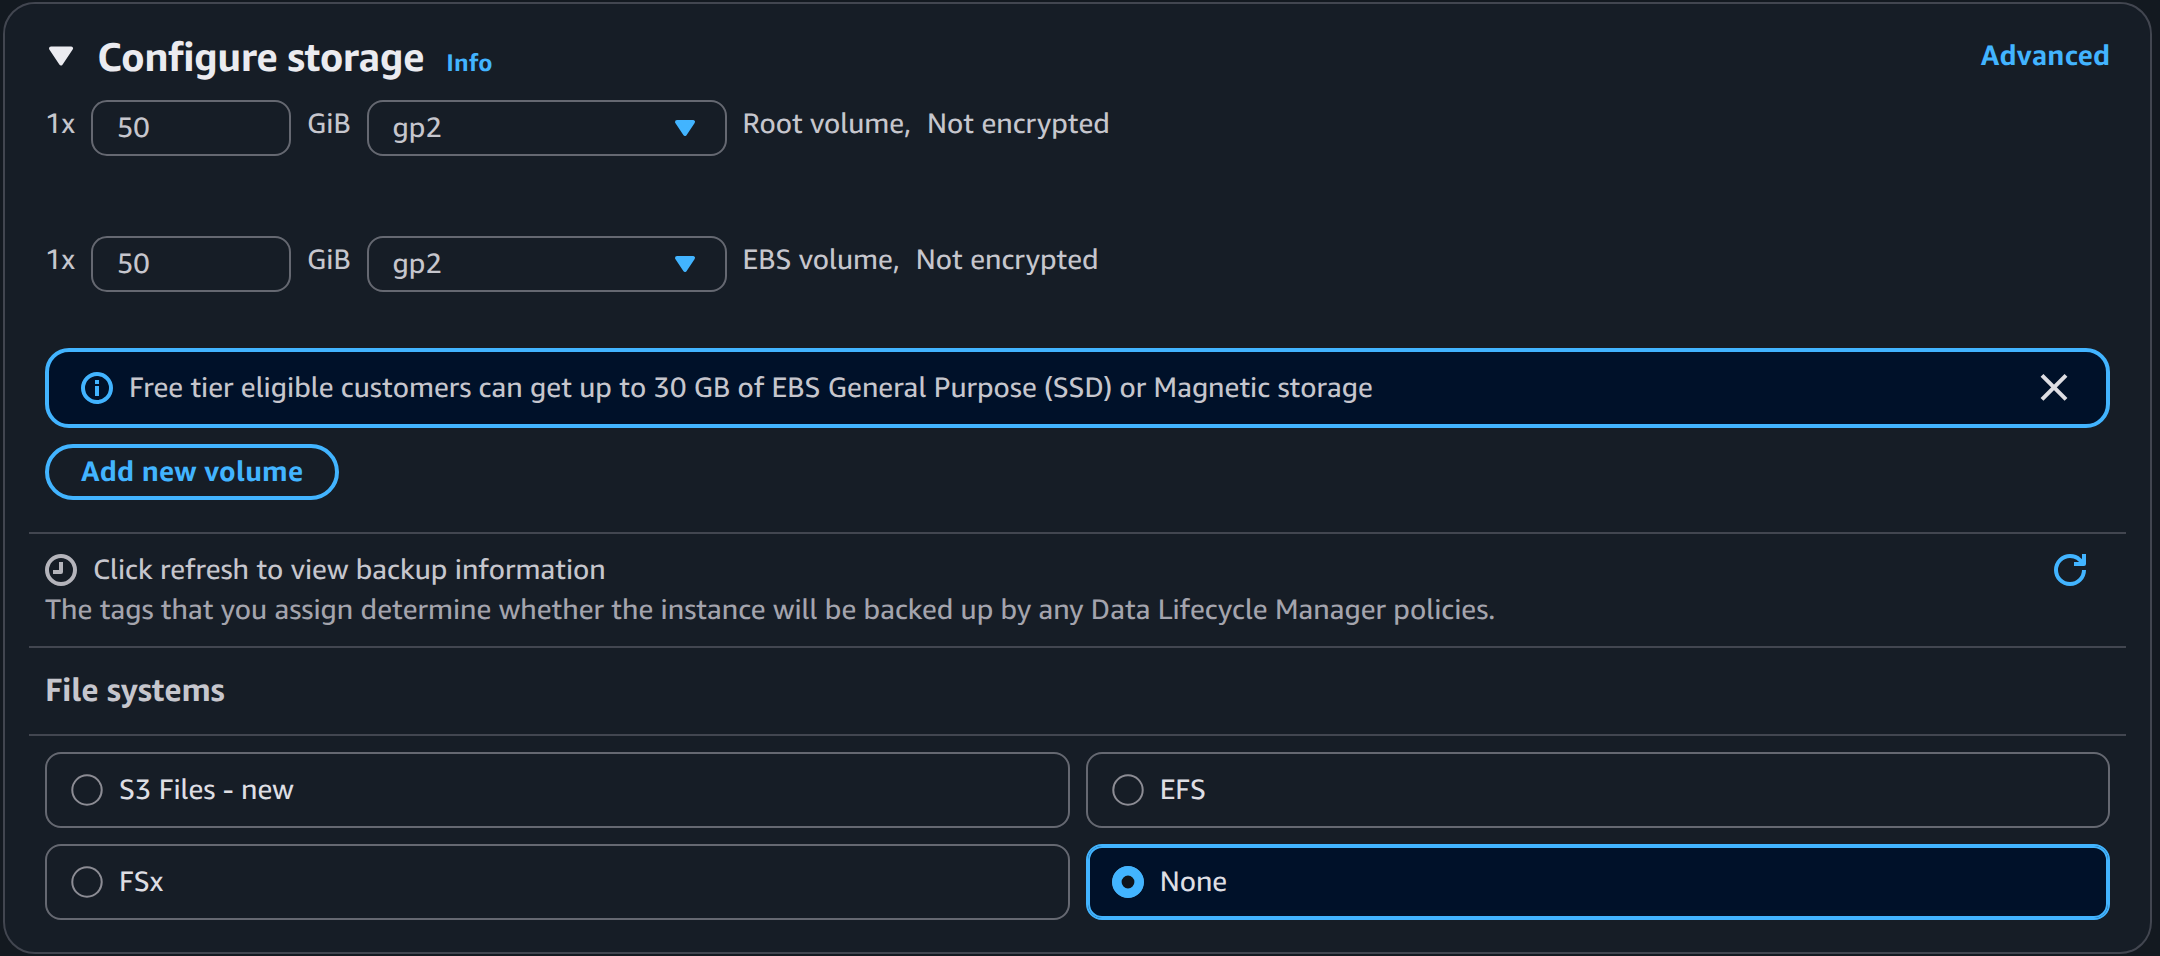
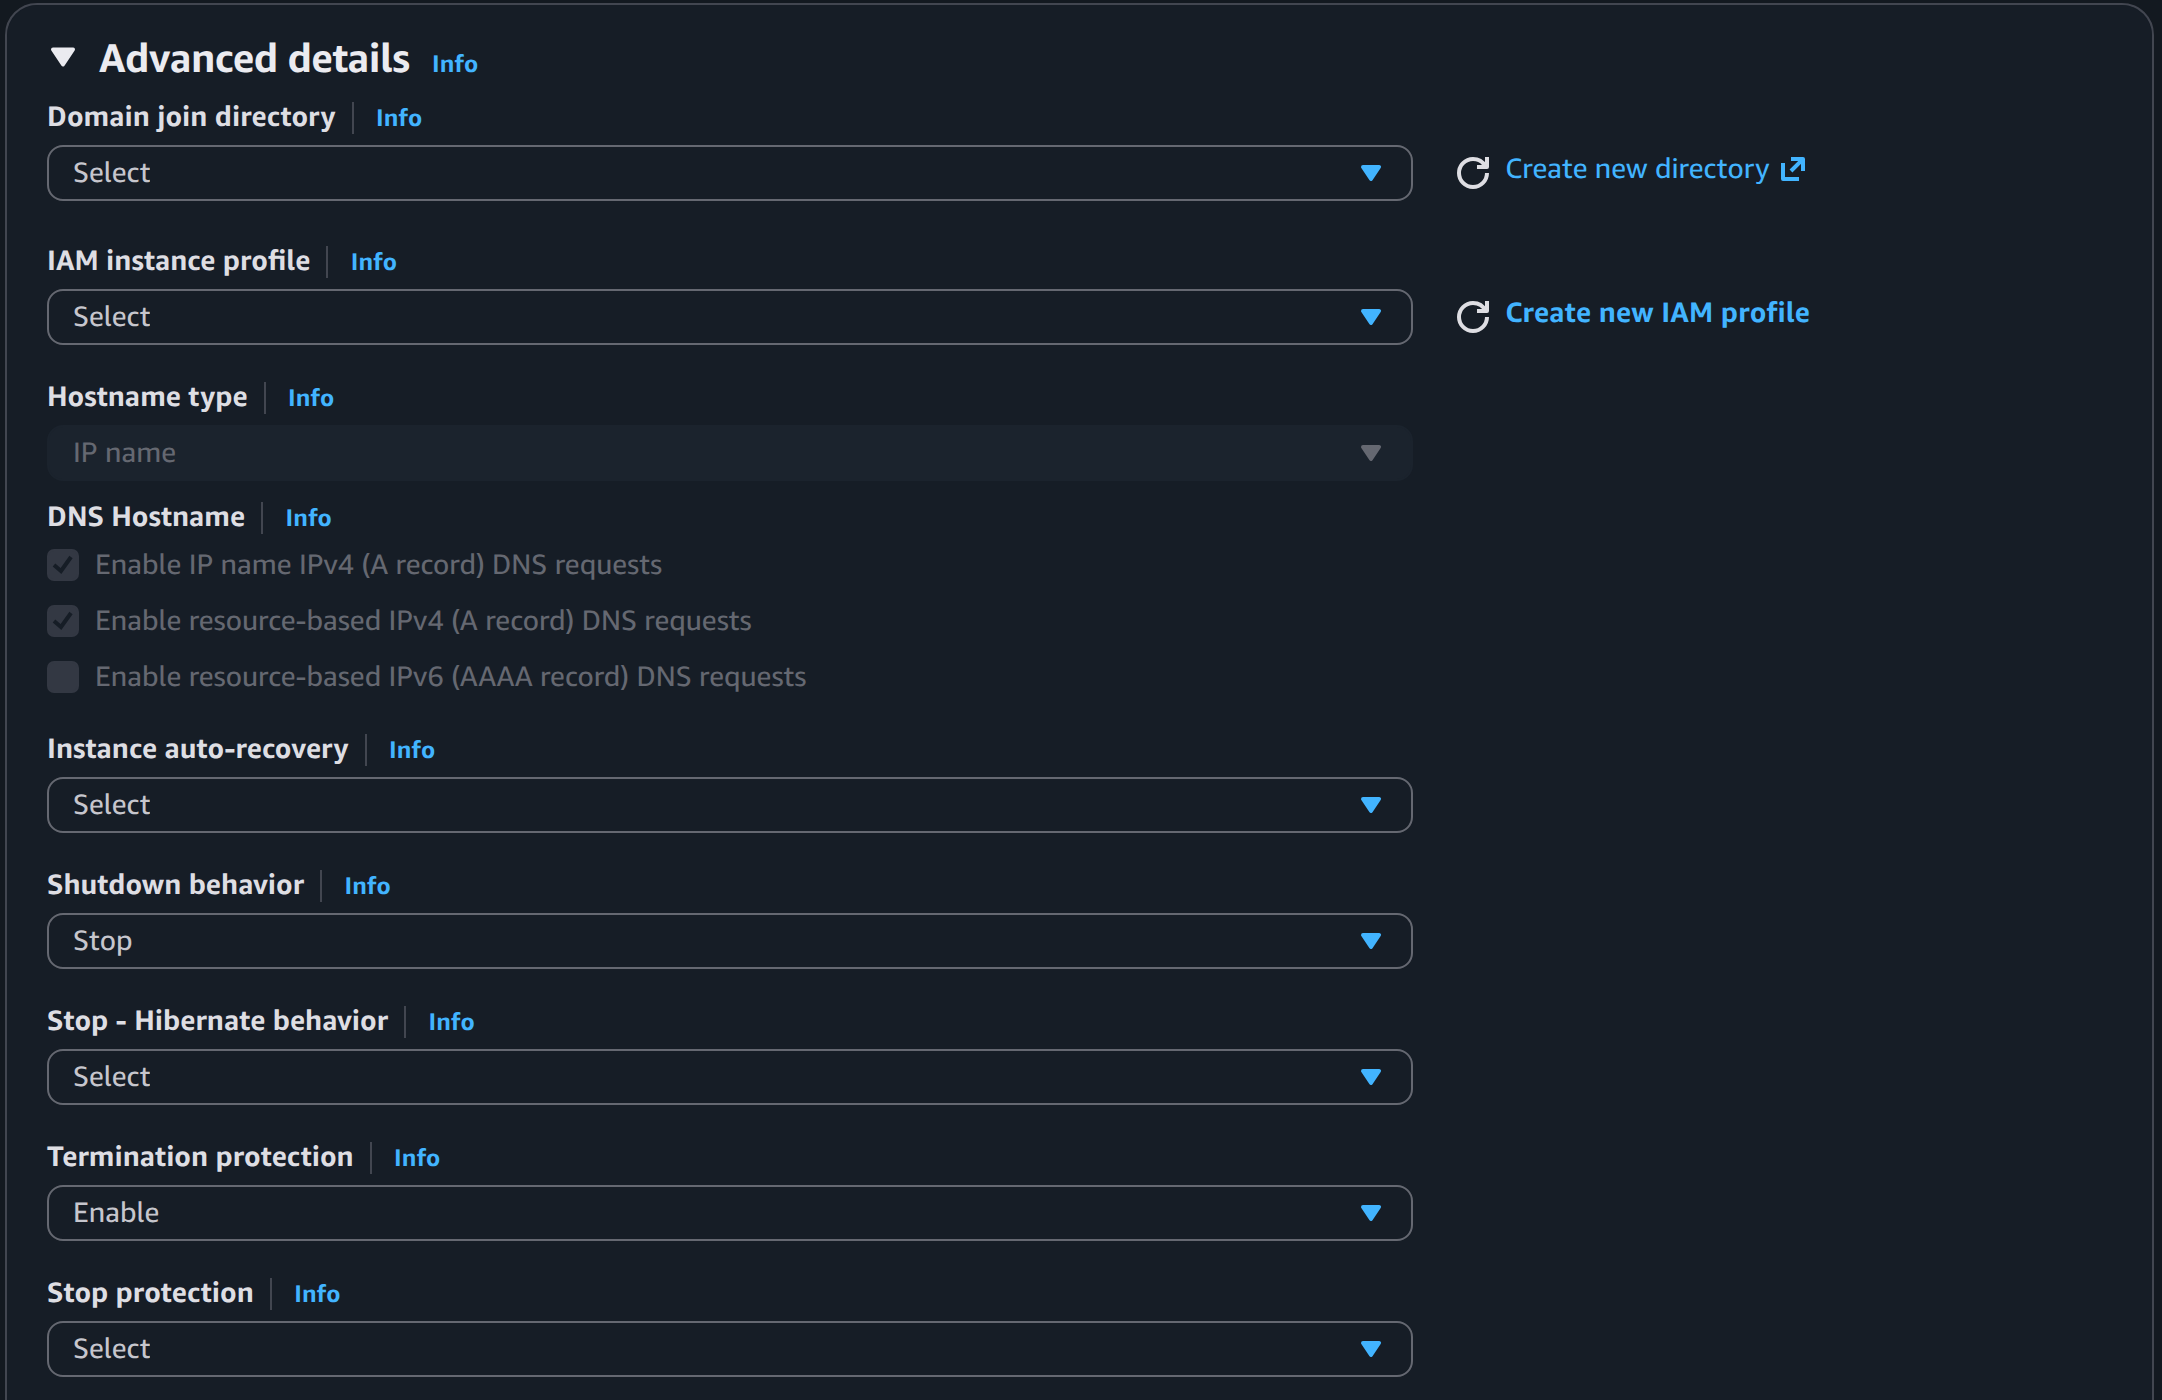
CONFIRM THE LAUNCH
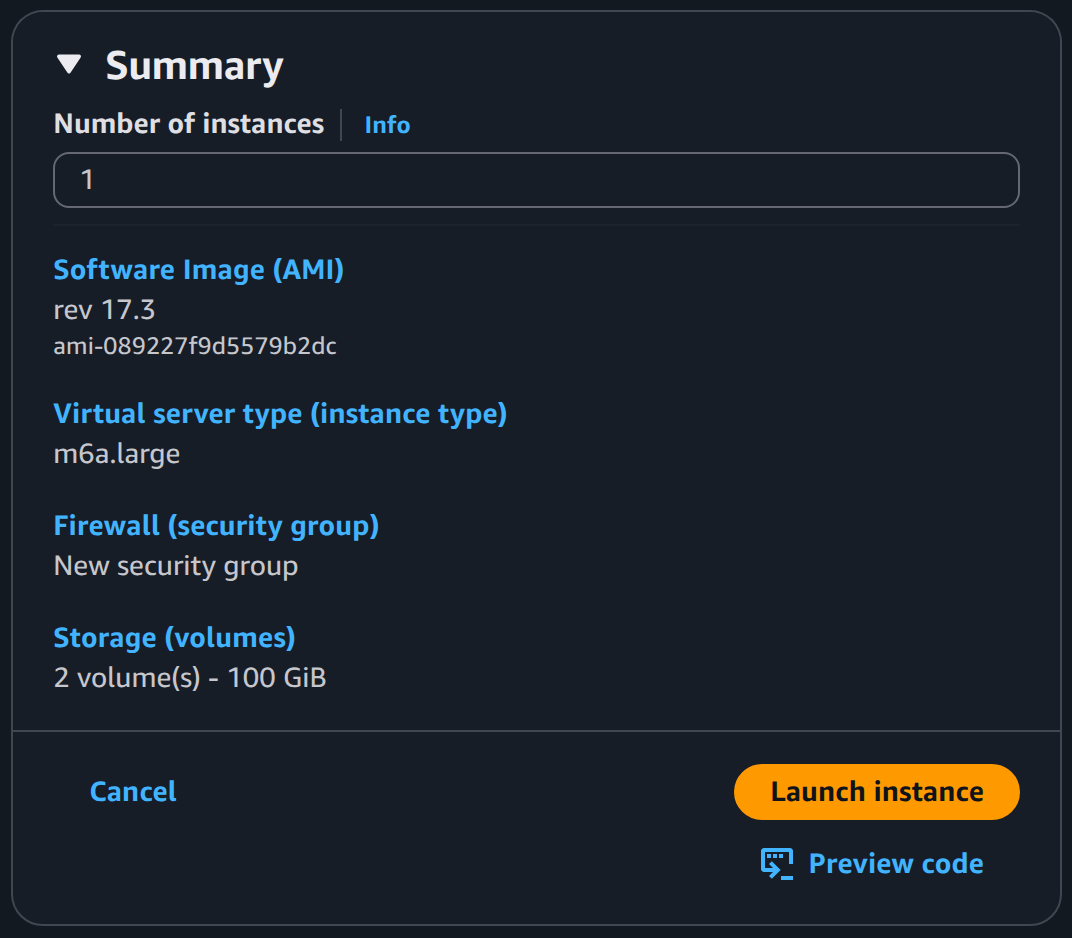
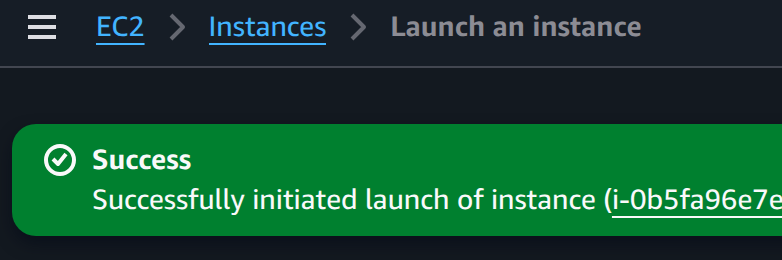
Now that you have all of the Instance Details sorted out, you can click the Launch Instance button on the right side of the page. It will take a minute, but you should eventually see a green banner confirming the Launch request succeeded.
ATTACH AN ELASTIC IP ADDRESS
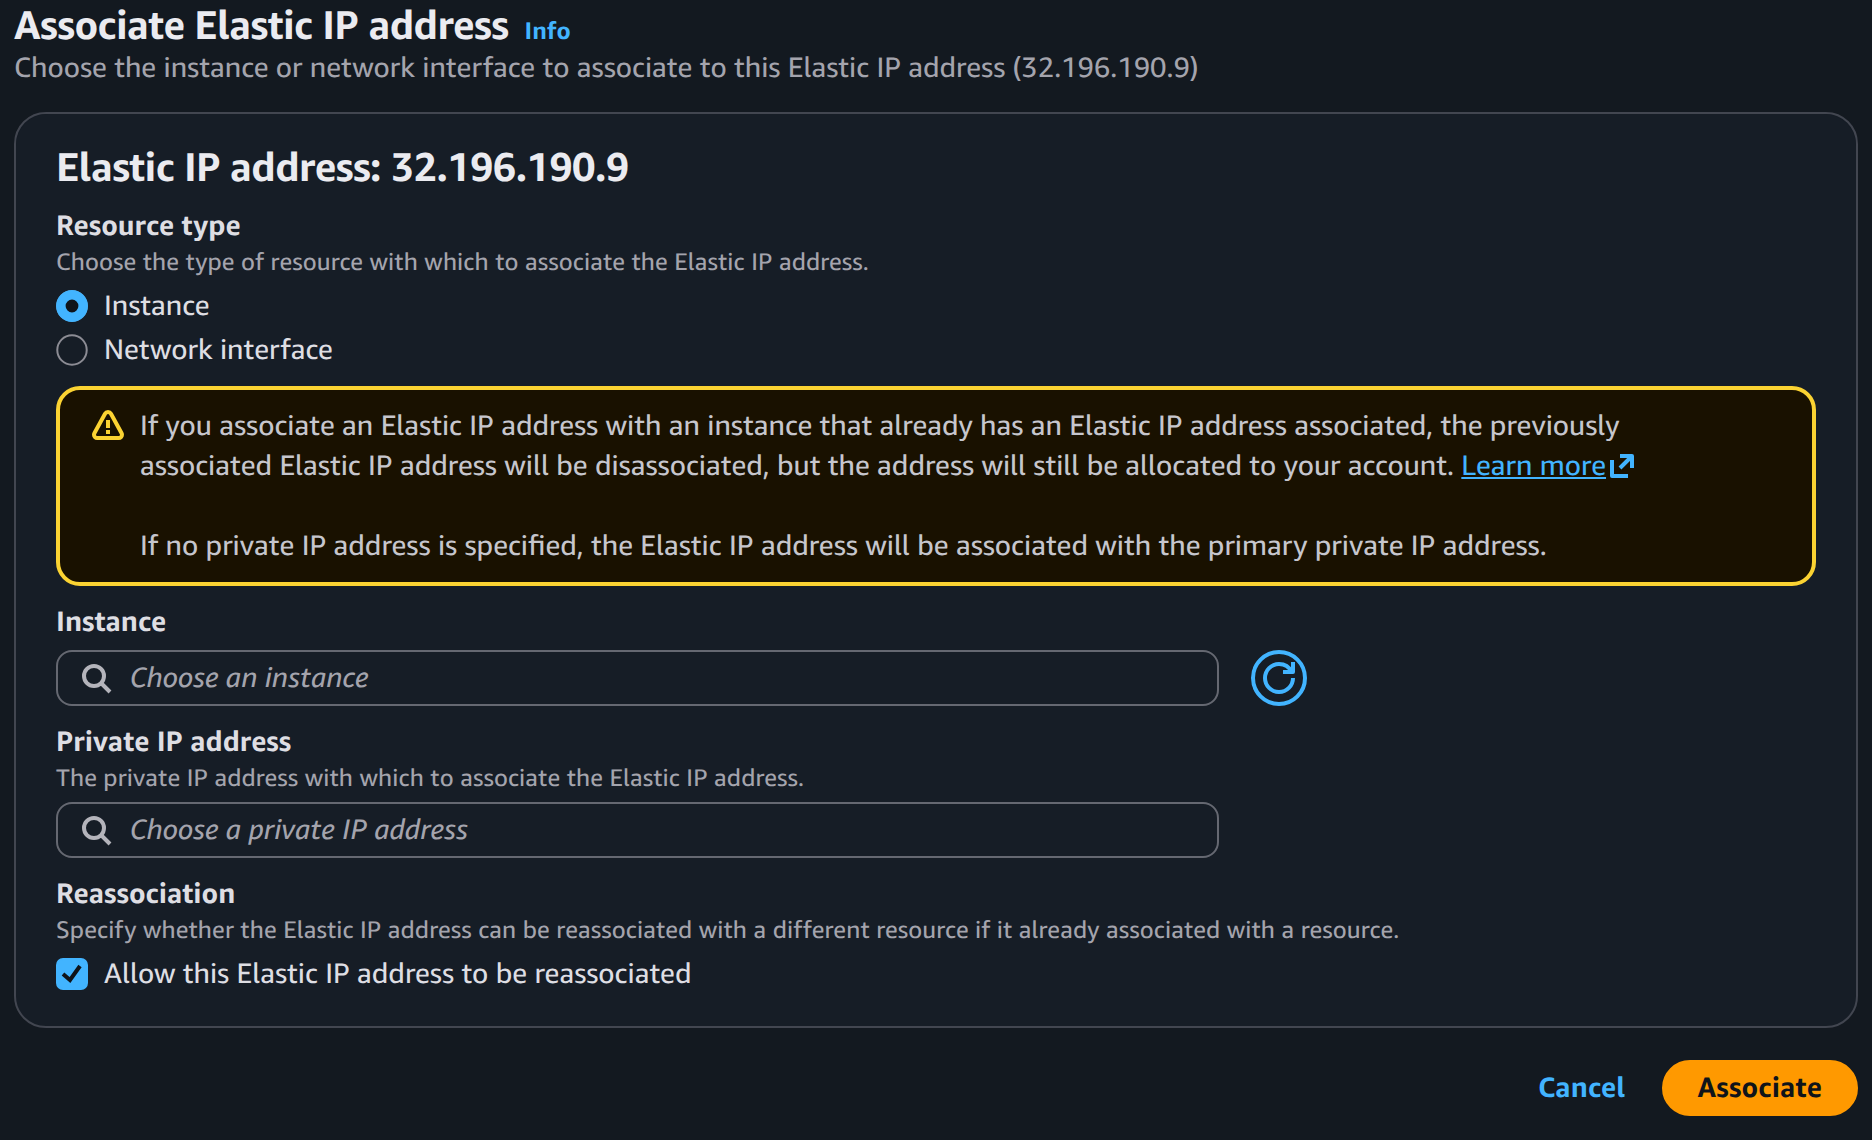
An Elastic IP is a “Static” Public-facing IP on AWS. This gives your Instance a permanent point of contact for your Trunks and Endpoints. You can point a FQDN to this IP for an easy-to-remember and pliable method of reaching the instance. You manage your Elastic IPs in EC2 Console > Elastic IP Addresses.
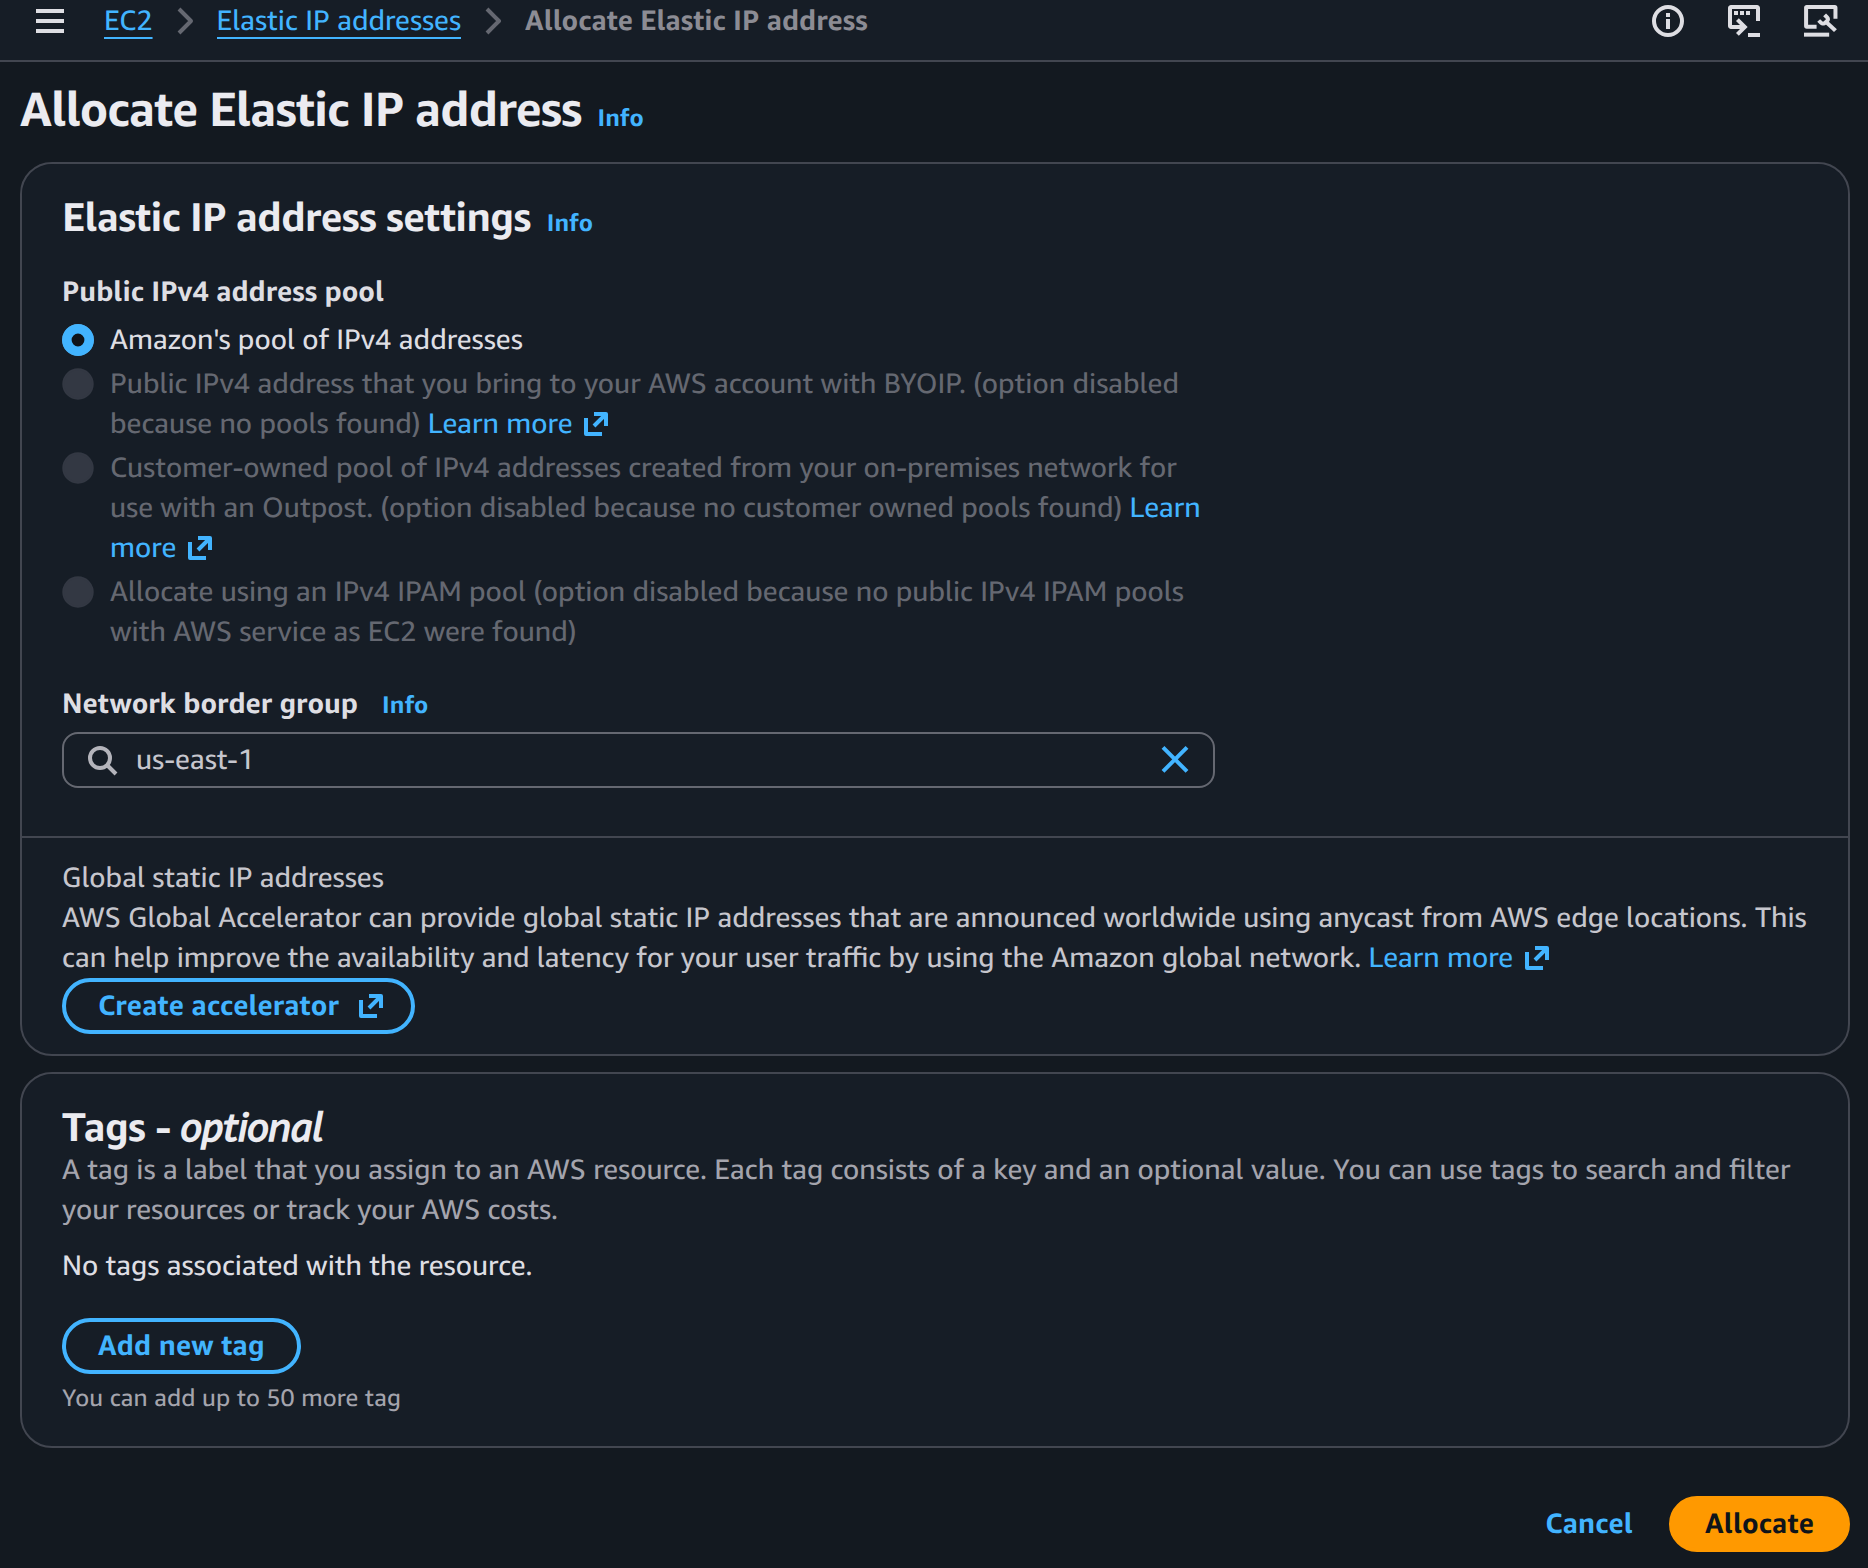
Assign the Elastic IP to your Instance
INITIAL FREEPBX SETUP
WAIT FOR THE INSTANCE TO SETTLE
After deploying your instance from the EC2 Console, please allow up to 10 minutes for the instance to be setup and all services to start. Once your instance is running and ready, simply navigate to the IP address in your web browser. Choose the FreePBX Administration icon on the left, enter admin as the username and your EC2 Instance ID (i-xxxxxxxxxxxx) as the password.
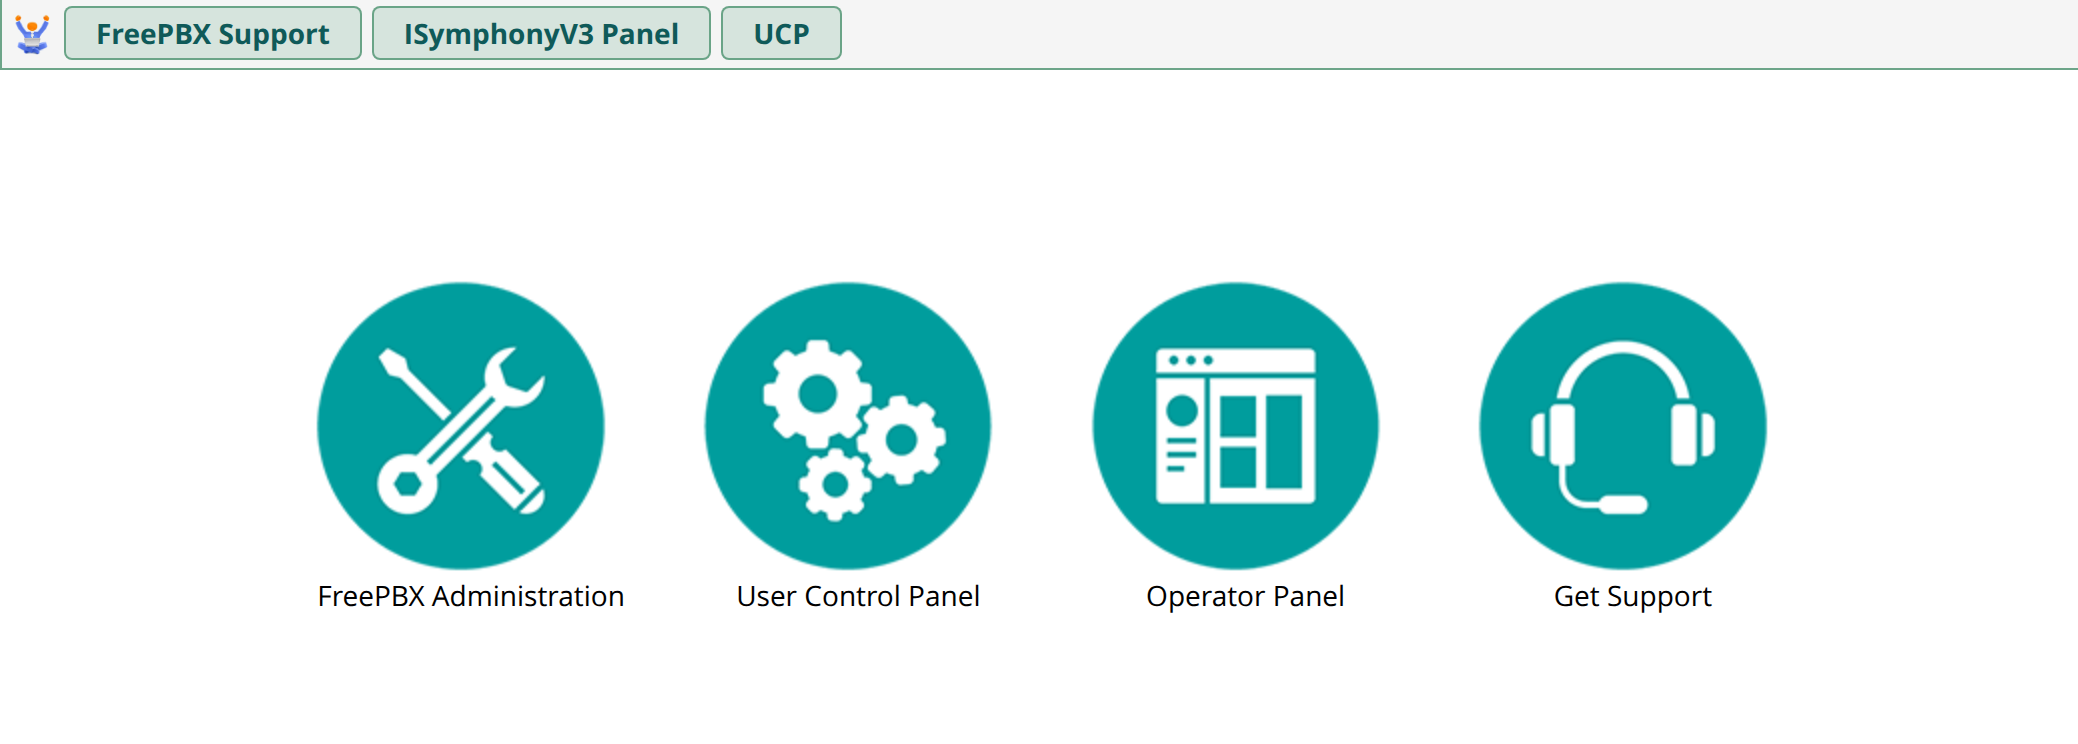
Once you are logged in, you can change the password from the Admin > Administrators menu. You can setup additional Users and Admins in Admin > User Management, but do not delete or add to the legacy Administrators module, as this is used behind the scenes for management of your AWS FreePBX Instance.
If you have issues accessing the web interface of AWS FreePBX, please check your EC2 Security Group to ensure the proper ports are open. Depending on how you launched the instance from our Marketplace AMI above, you may have launched with our default SG entries or your own custom SG. If you did not accept our default SG, you may need to add the necessary ports as outlined on this page.
GET TO KNOW FAIL2BAN
DO NOT IGNORE THIS SECTION!!! THIS IS THE #1 CAUSE OF NEW CUSTOMER SUPPORT TICKETS!!!
When the fail2ban Intrusion Detection service is running, failed attempts to access your system are logged. If the attempts exceed the Max Retry limit, the remote IP is blocked from accessing the system for the length of Ban Time. The number of attempts are reset after the Find Time is exceeded. We recommend this service always run, but this can cause problems when you are testing and building out a new server instance. For example, an improperly configured phone will repeatedly attempt to authenticate and get your entire network banned from accessing the server. As a result, it is best to turn off Intrusion Detection when you are first configuring your new server. This can be done from Connectivity > Firewall > Intrusion Detection or via SSH console by running systemctl stop fail2ban See this Wiki page for more information.
The Responsive Firewall module provided by Sangoma is available on AWS FreePBX, but is not Active at Instance launch. You should follow this Wiki page to activate and configure the Firewall Module AFTER the instance has been setup properly.
ASTERISK SIP SETTINGS
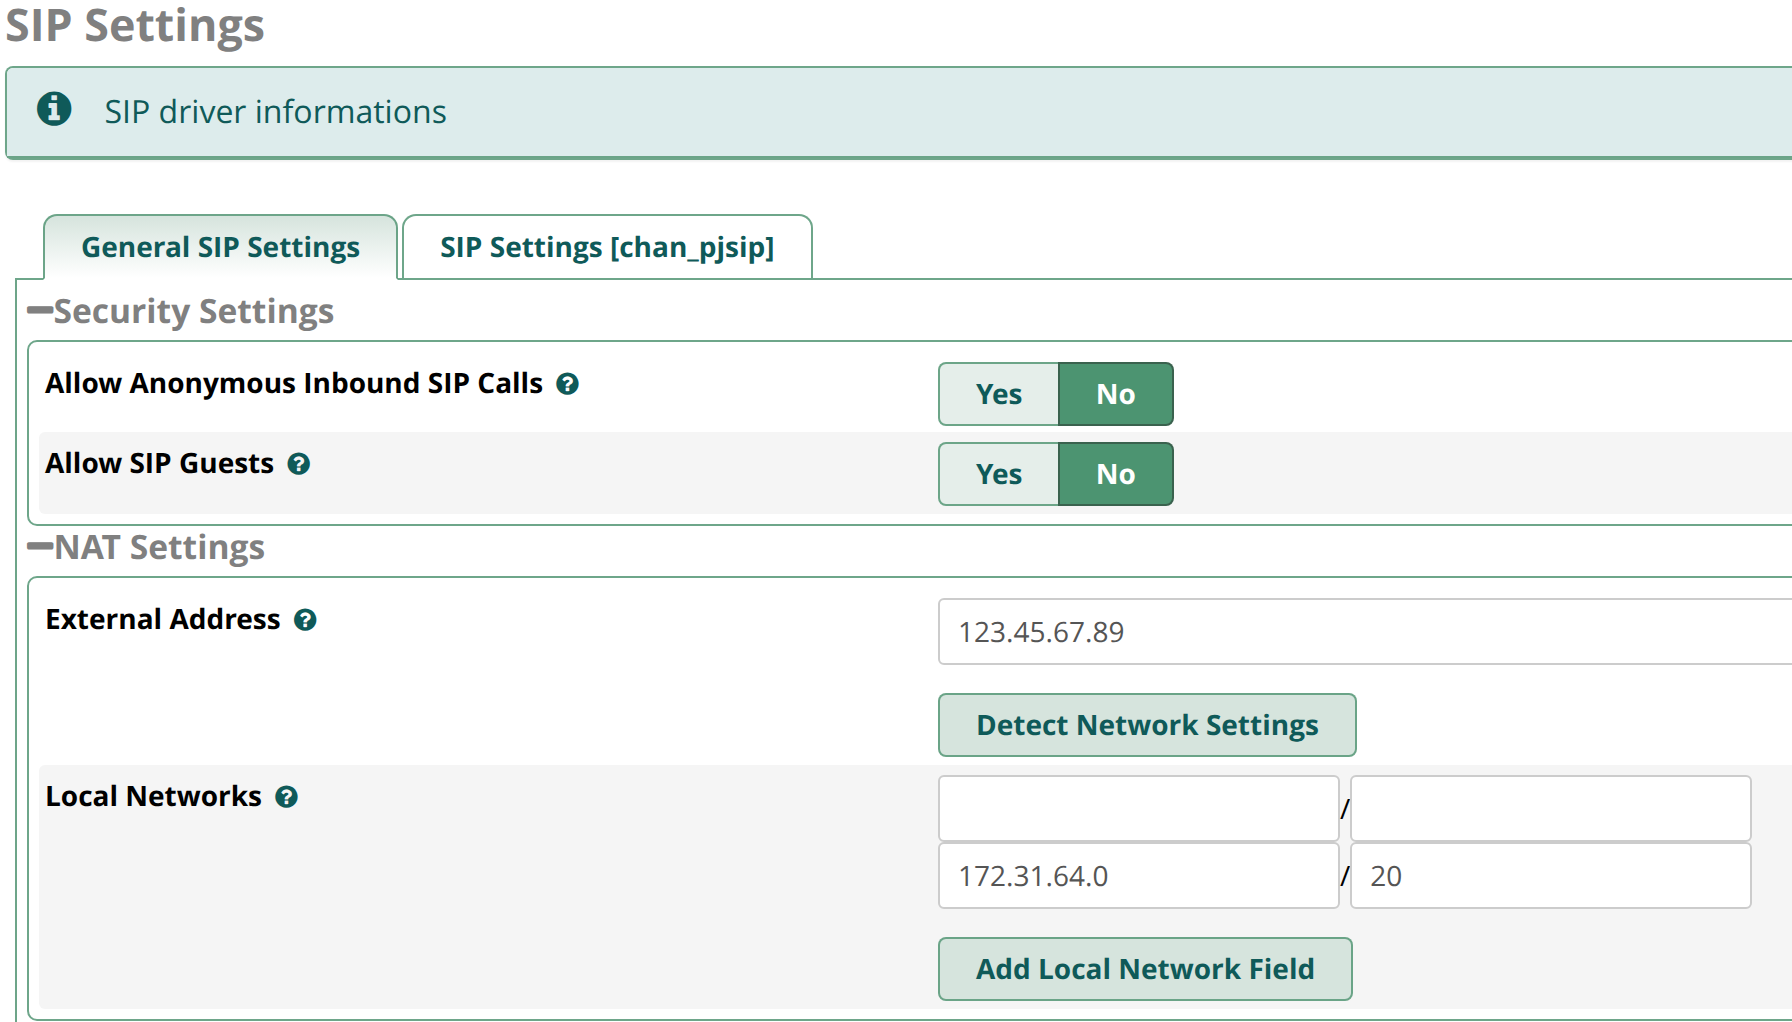
Next, you need to configure Asterisk SIP Settings. The Asterisk SIP Settings Module is used to configure the default settings used for calls. The most critical part is ensuring Asterisk knows the External IP and Local Network (AWS VPC) information in order to properly format the SIP PATH of calls. Without this, YOU WILL NOT HEAR AUDIO ON YOUR CALLS!
Go to Settings > Asterisk SIP Settings and click the Detect Network Settings button to automatically populated the necessary fields.
Manually add any AWS VPC direct VPNs you are utilizing to the Local Networks list only if you are certain your call traffic is using the VPN.
When finished, Submit and Apply Config.
USE SMARTUPGRADE
AWS FreePBX® from TheWebMachine Networks includes our unique SmartUpgrade system. Use SmartUpgrade to update your server at any time and use advanced features such as S3 Bucket Sync for Voicemails and Call Recordings and our Automatic File Deletion service to keep your server running at its best. We release AMIs on a quarterly schedule with the latest software and patches available at that time. However, there are constantly new updates and patches being released to correct bugs and eliminate security vulnerabilities. You should update your instance before placing it in production. You can find out more about SmartUpgrade here.
CONCLUSION
That's it for the mandatory setup steps! You can now proceed to configure Extensions, Trunks, and all of the other modules. Be sure to Setup Email, Configure Backups, and explore the available Paid Modules from Sangoma like Endpoint Manager and Fax Pro.
aws_freepbx/first_launch.txt · Last modified: by TheWebMachine Networks
Page Tools


