Instance Migration Guide
This Guide is used for major version upgrades (through v17) and when you want to migrate your data to a clean instance.
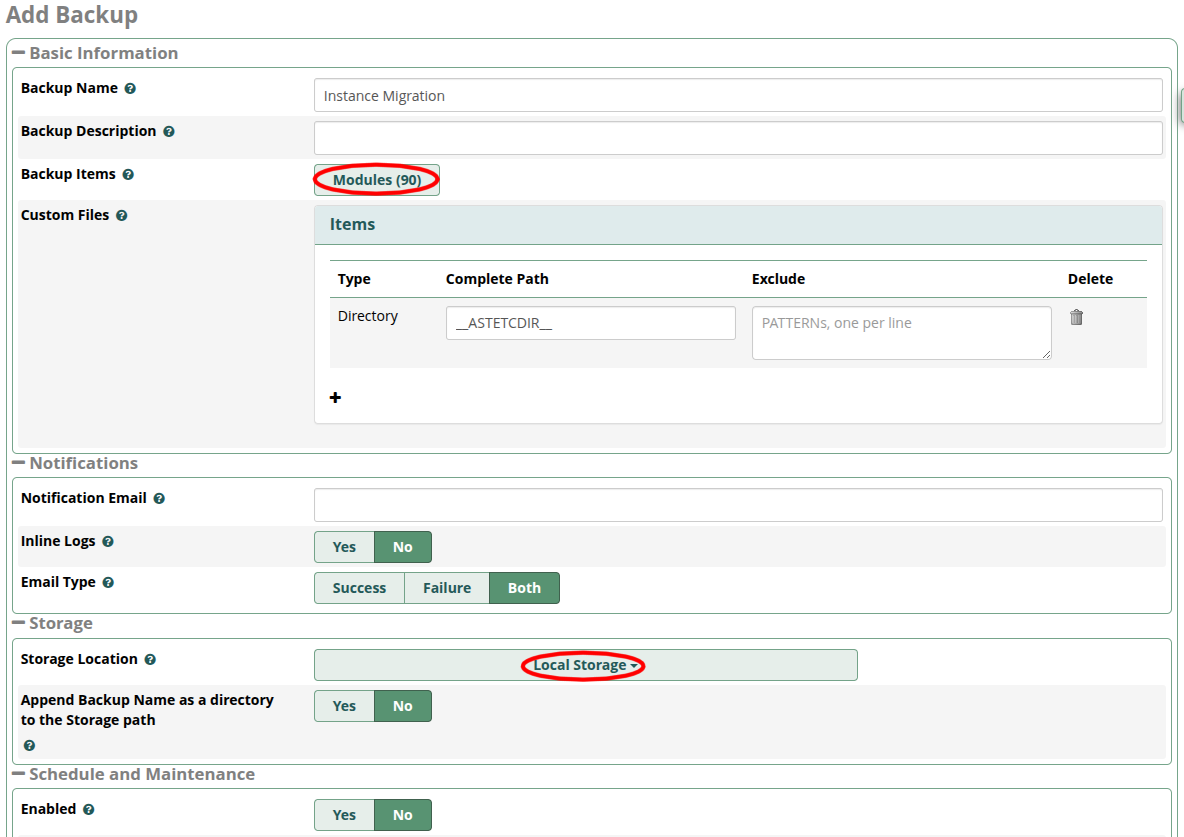
- Create a new full backup job on the original instance, save and run this backup
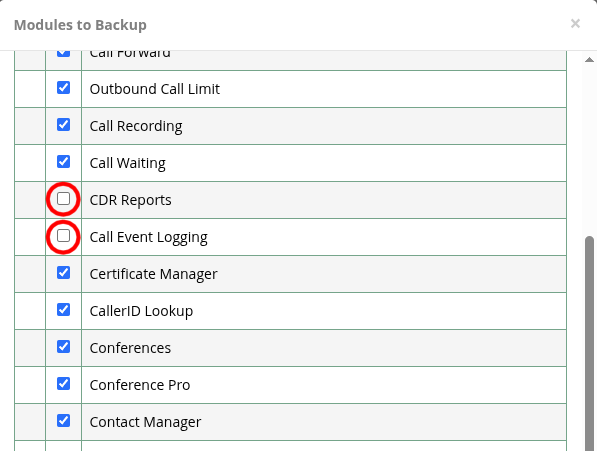
For the fastest possible migration experience, if you do NOT need your CDR/CEL (calls) history and Recordings migrated over, you may DEselect the “CDR Reports,” “Call Event Logging,” and “Recordings” modules in the Modules list. This will greatly reduce the backup file size AND greatly reduce the Restore process time on the new instance. We have seen CDR/CEL restorations from older/larger instances take HOURS to complete. You always have the option to export a backup of just the CDR/CEL and Call Recordings from the old instance to later import into a SQL and/or File server of your choice if you need archival retention of that call data.

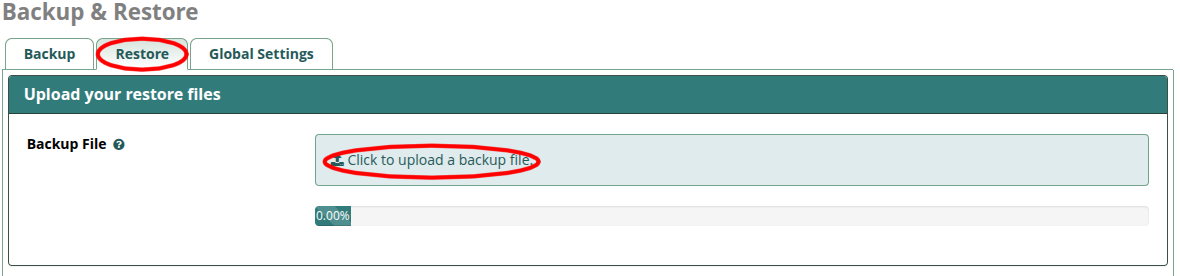
- Download the newly created backup file via the
Restoretab so you have a copy on your local computer
- Launch a new v17 instance in the same Region as your original instance so you can easily move the Elastic IP over, to place it in production at the end
- Connect to the instance via SSH and run SmartUpgrade to bring it fully up-to-date
- Log into https://portal.sangoma.com, locate your
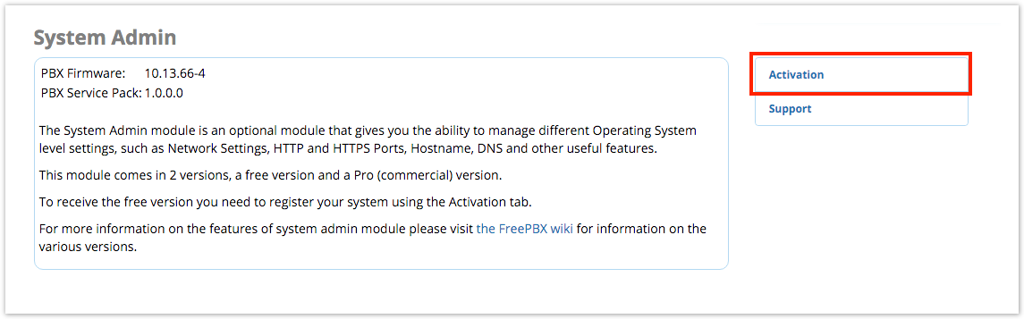
Deployment IDin thePBXs > FreePBXsection and click the blue view/eyeball button on the right. Your Deployment ID can be found on original instance underAdmin > System Admin > Activation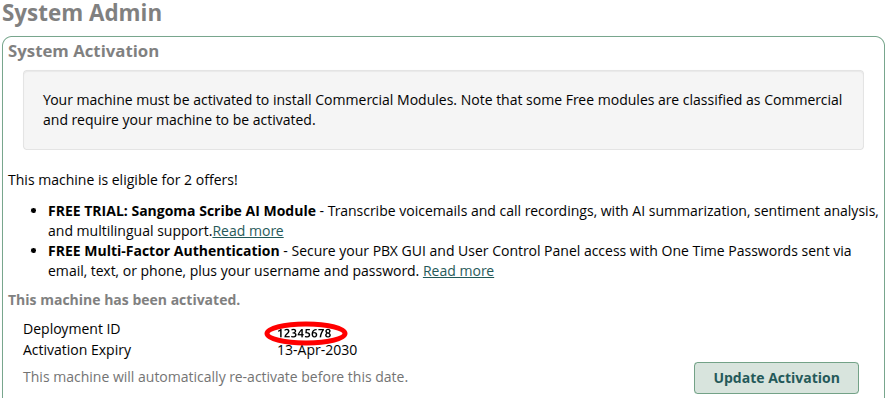

- Select the
Licensestab at the top and scroll all the way to the bottom and locate theReset Hardware Lockbutton (yellow). Click this to release the Deployment ID for re-use. This will NOT immediately invalidate the old instance activation, giving you a day or more to complete the switchover with both instances activated.

Note that rebooting the original instance after this point will force a release of the activation on that machine!
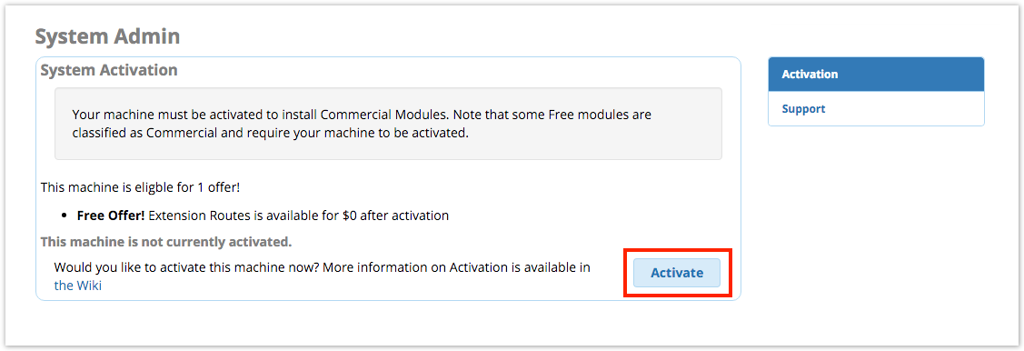
- Activate the new instance with the Deployment ID you released so as to bring over your Commercial Module Licenses
- Upload and restore the backup file from the original instance.


After the restore process has completed, fully REBOOT the instance to restart all services with their migrated data.
- Review the new instance to ensure all of your data has been restored properly
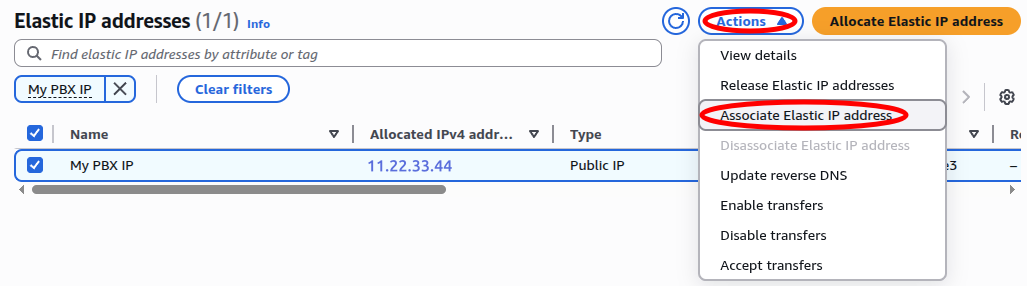
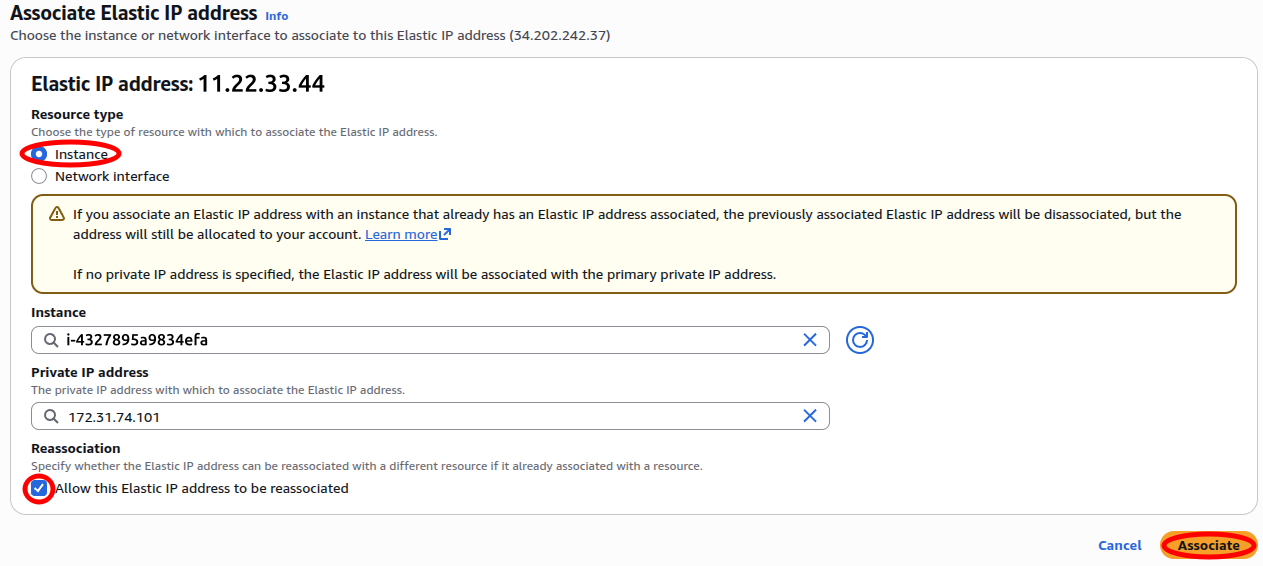
- Swap the Elastic IP from original to new instance to place it into production.
- Most phones should automatically re-register to the new instance after the swap. Some devices may require a reboot in order to reconnect.